
Differences Between Modded Upscaling & Vanilla Upscaling
I AM NOT EXPLAINING THE PROCESS OF UPSCALING COMPLETELY.
Please use Zizi’s guides or other text guides to learn how to upscale!
(If you need a link, here is Zizi’s video guide:
https://youtube.com/playlist?list=PL3e-oUmTt_uFFsf3mY46FNtUHGYW2_PAc&si=dUxmHDtQgHybceOB)
But we’re finally at the point where you can do these things!! So go ahead and upscale your outfit as normal.
The only difference: MAKE SURE YOU UPSCALE ON THE BASIS SHAPE KEY (as in, select the shape key named “Basis” in your shapekey menu, right beneath your list of weights. If you upscale on the others…you will not change what you need to and instead will be changing things ON that shapekey, which will be very tragic when you get it in game to test.
I may have done that while writing this guide and needed to begin this step again.
IF WHILE UPSCALING you find that you just NEED MORE POLYS feel free to jump back up and repeat Step 2 to get more polys, smooth out those new polys, and keep going.
Remember here that you’re finally going out of the area in which fixes to the mesh are EASY and can quickly be solved, so only upscale when you’re good & ready to go.
The only thing you cannot do with vanilla upscales (if you want to preserve the shape keys) is use the Shrinkwrap modifier or Mirror modifier.
By default, Blender will not allow you to use certain modifiers with shape keys, and Shrinkwrap and Mirror are two. If you remove the shape keys here, you will need to add them back in later on after everything is done and your outfit is looking pretty. I’ll make a general guide to how to do that in “Final Touches.”
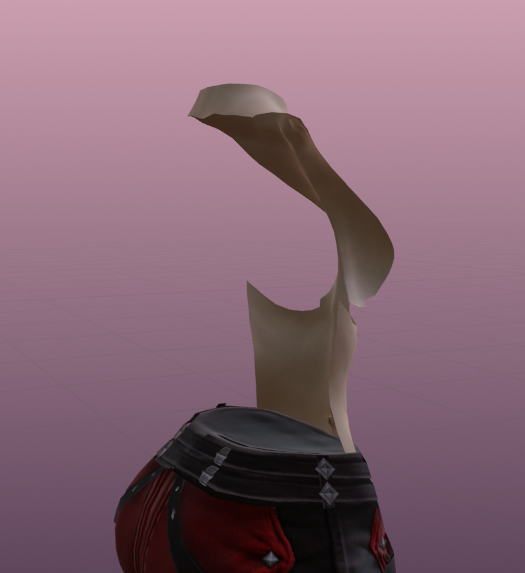
Don’t forget the amazing part of vanilla: if you can’t see the skin, feel free to yeet the skin.
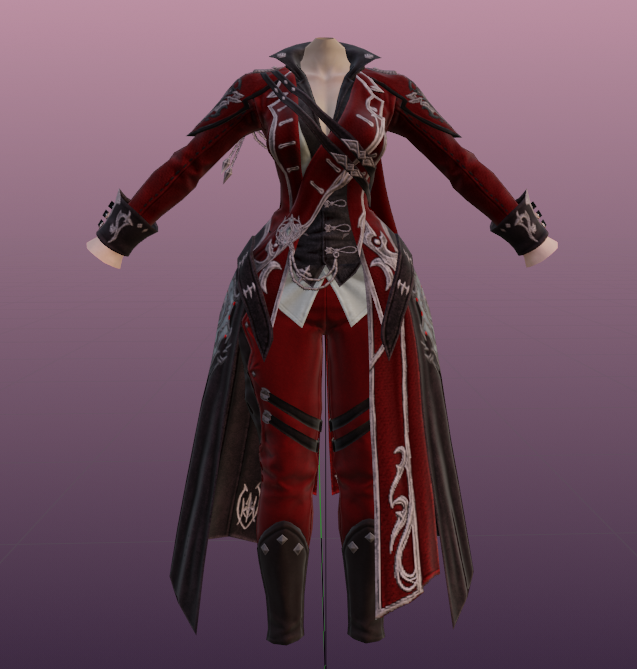
For my RDM coat, I am only leaving the front of the torso and the neck, and removing the back and arms.

I previously upscaled the pants, so we’re looking PRETTY BIMBO now with everything done!
No comments to display
No comments to display