Scrolling Image Overlay for Gear Items
This guide is an expansion of the work done by Bacara, Cordia Qoet, Mimi, Nylfae, and Cultist from the following guide. Without their original work this would not be possible. I created this guide to give a deeper breakdown of the steps in that guide.
Some Notes:
- I have a separate game install for textools to work off of.
- It is expected that you have an existing mod to modify for this guide.
- These textures are just scrolling/translating images. We cannot do animated images.
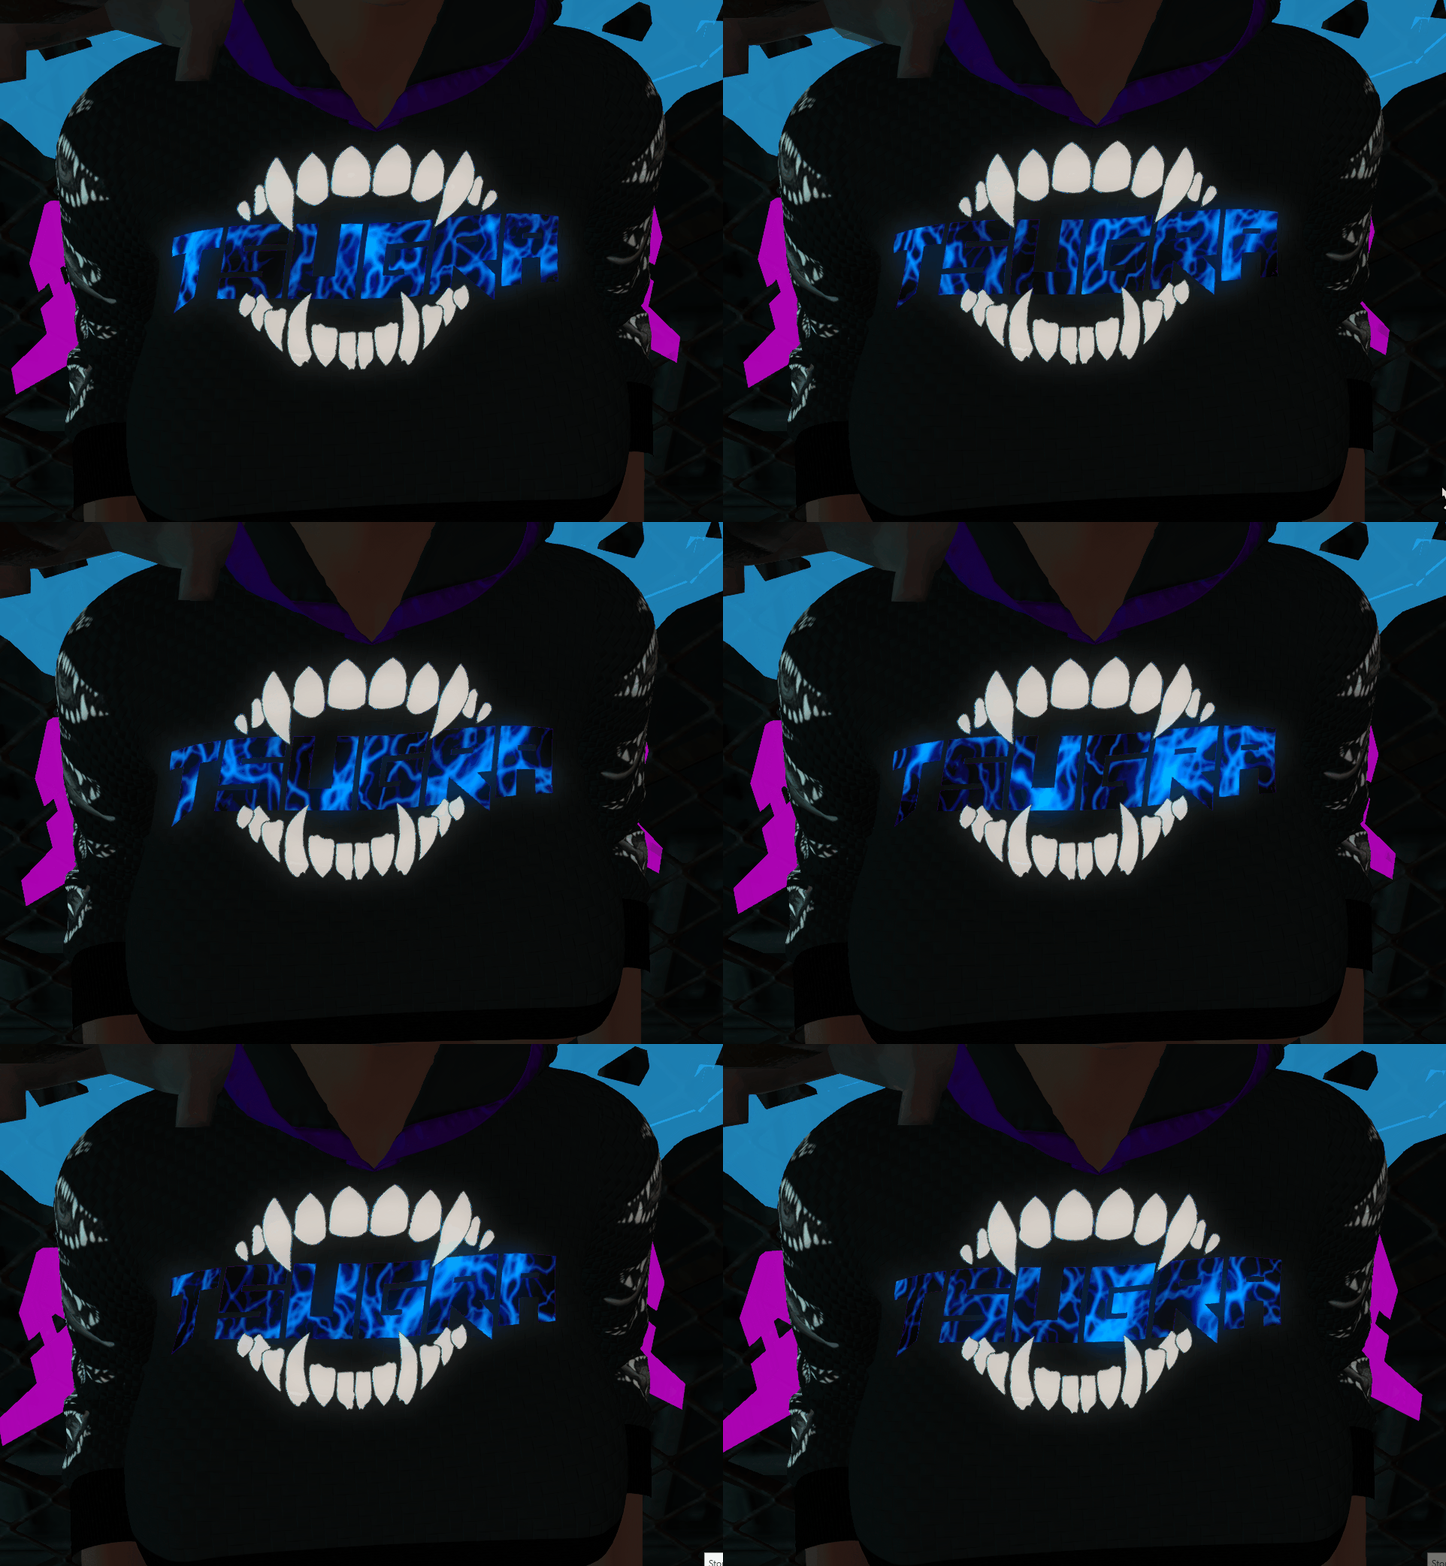
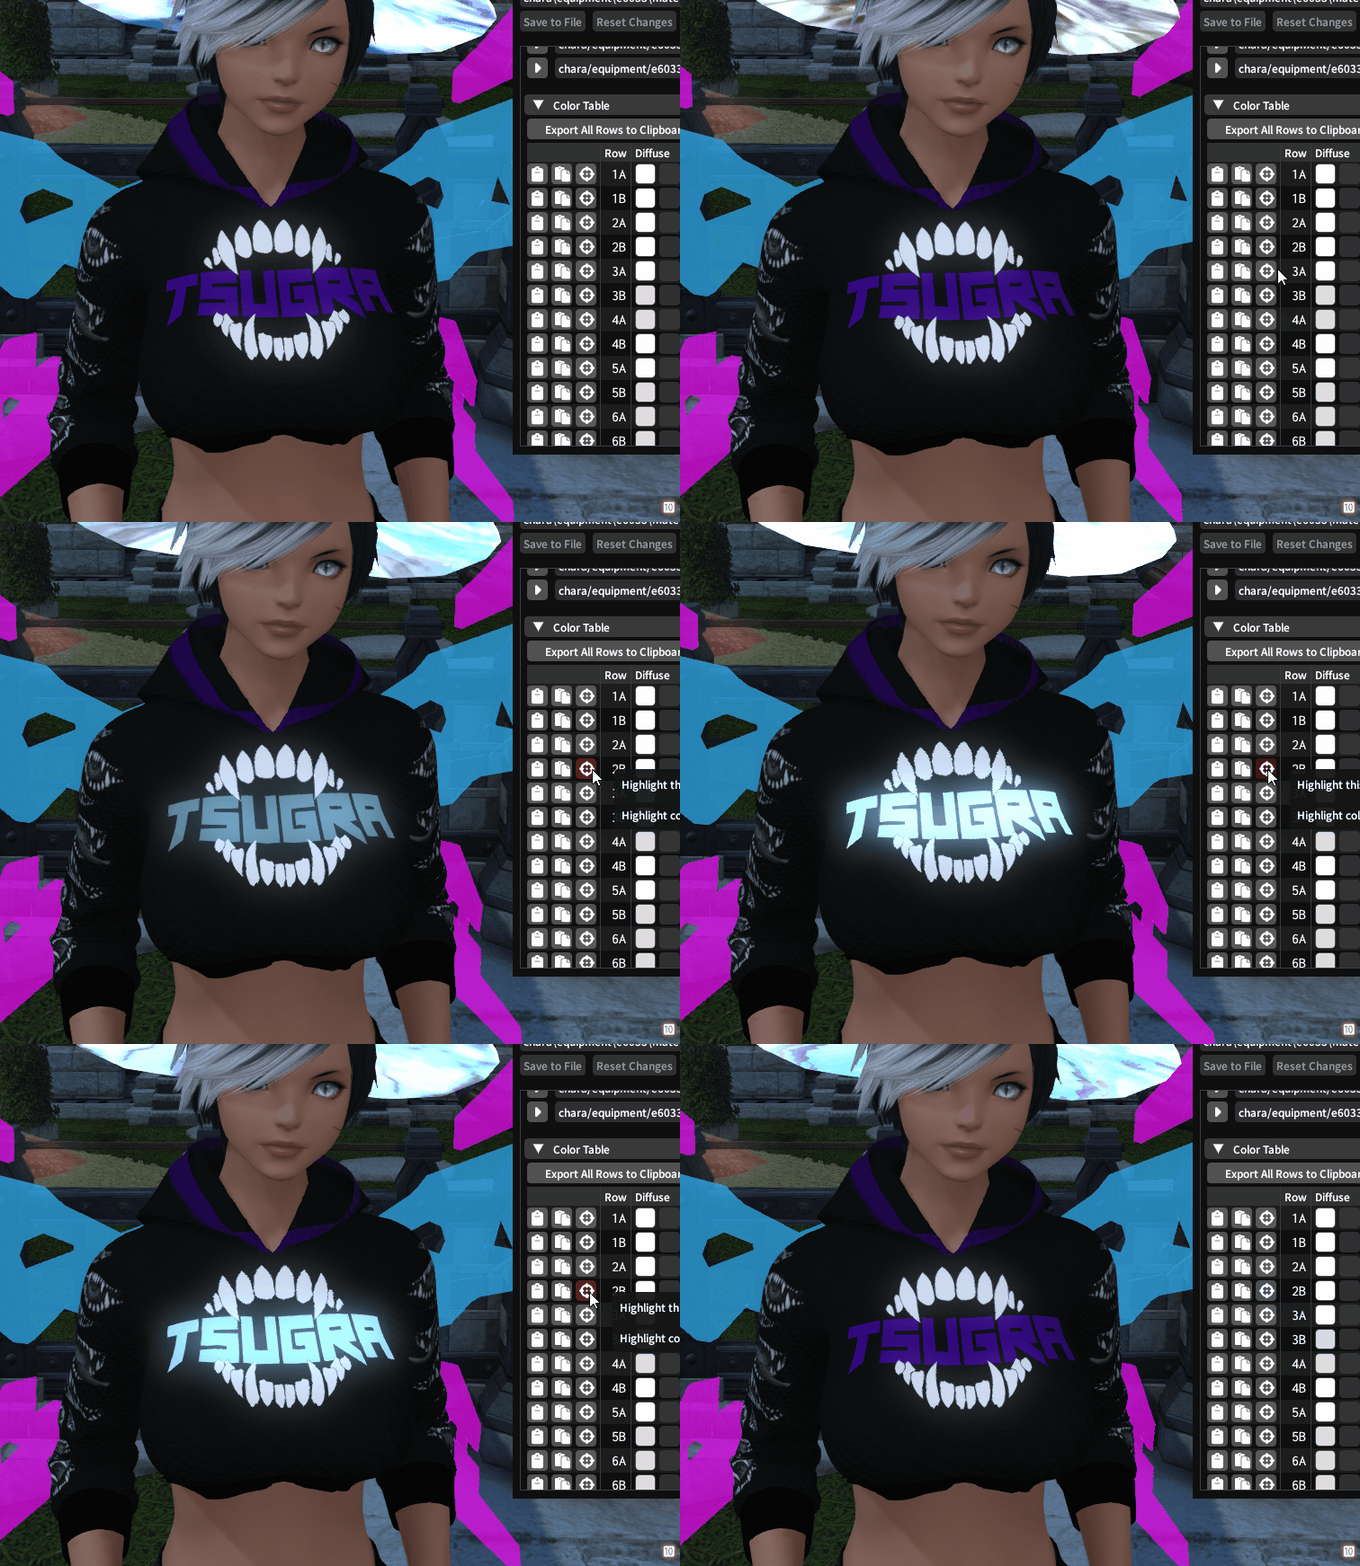
End Result:
Steps
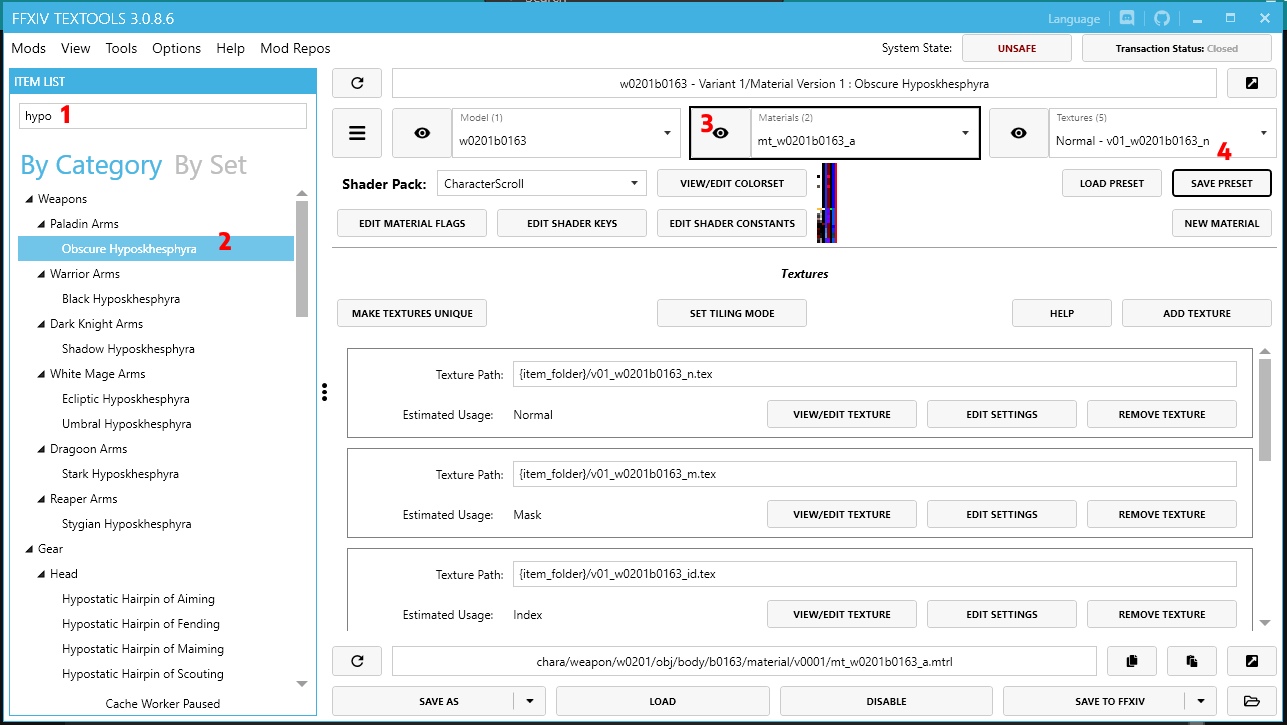
- Import the hammer mod from the other guide (found at this link: https://xivmodarchive.com/modid/113134 ) into TexTools
- Next make a preset of the material/shader for this hammer
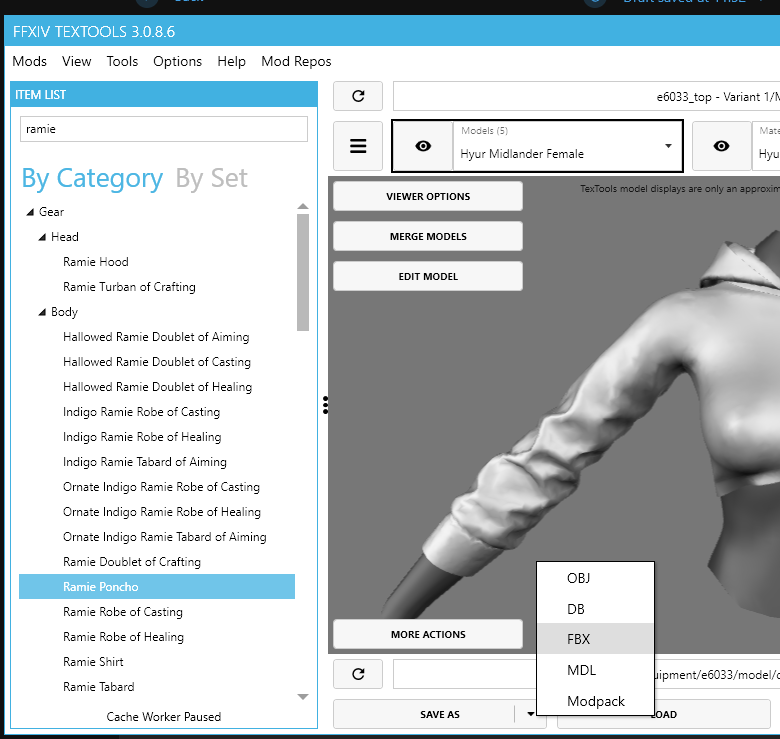
- Now import the modpack for the gear item you want to edit. For my example im going to edit a mode for the "Ramie Poncho" for female characters.
- Go to the modded item and export the FBX for the model
- Open blender and import this FBX
- In blender:
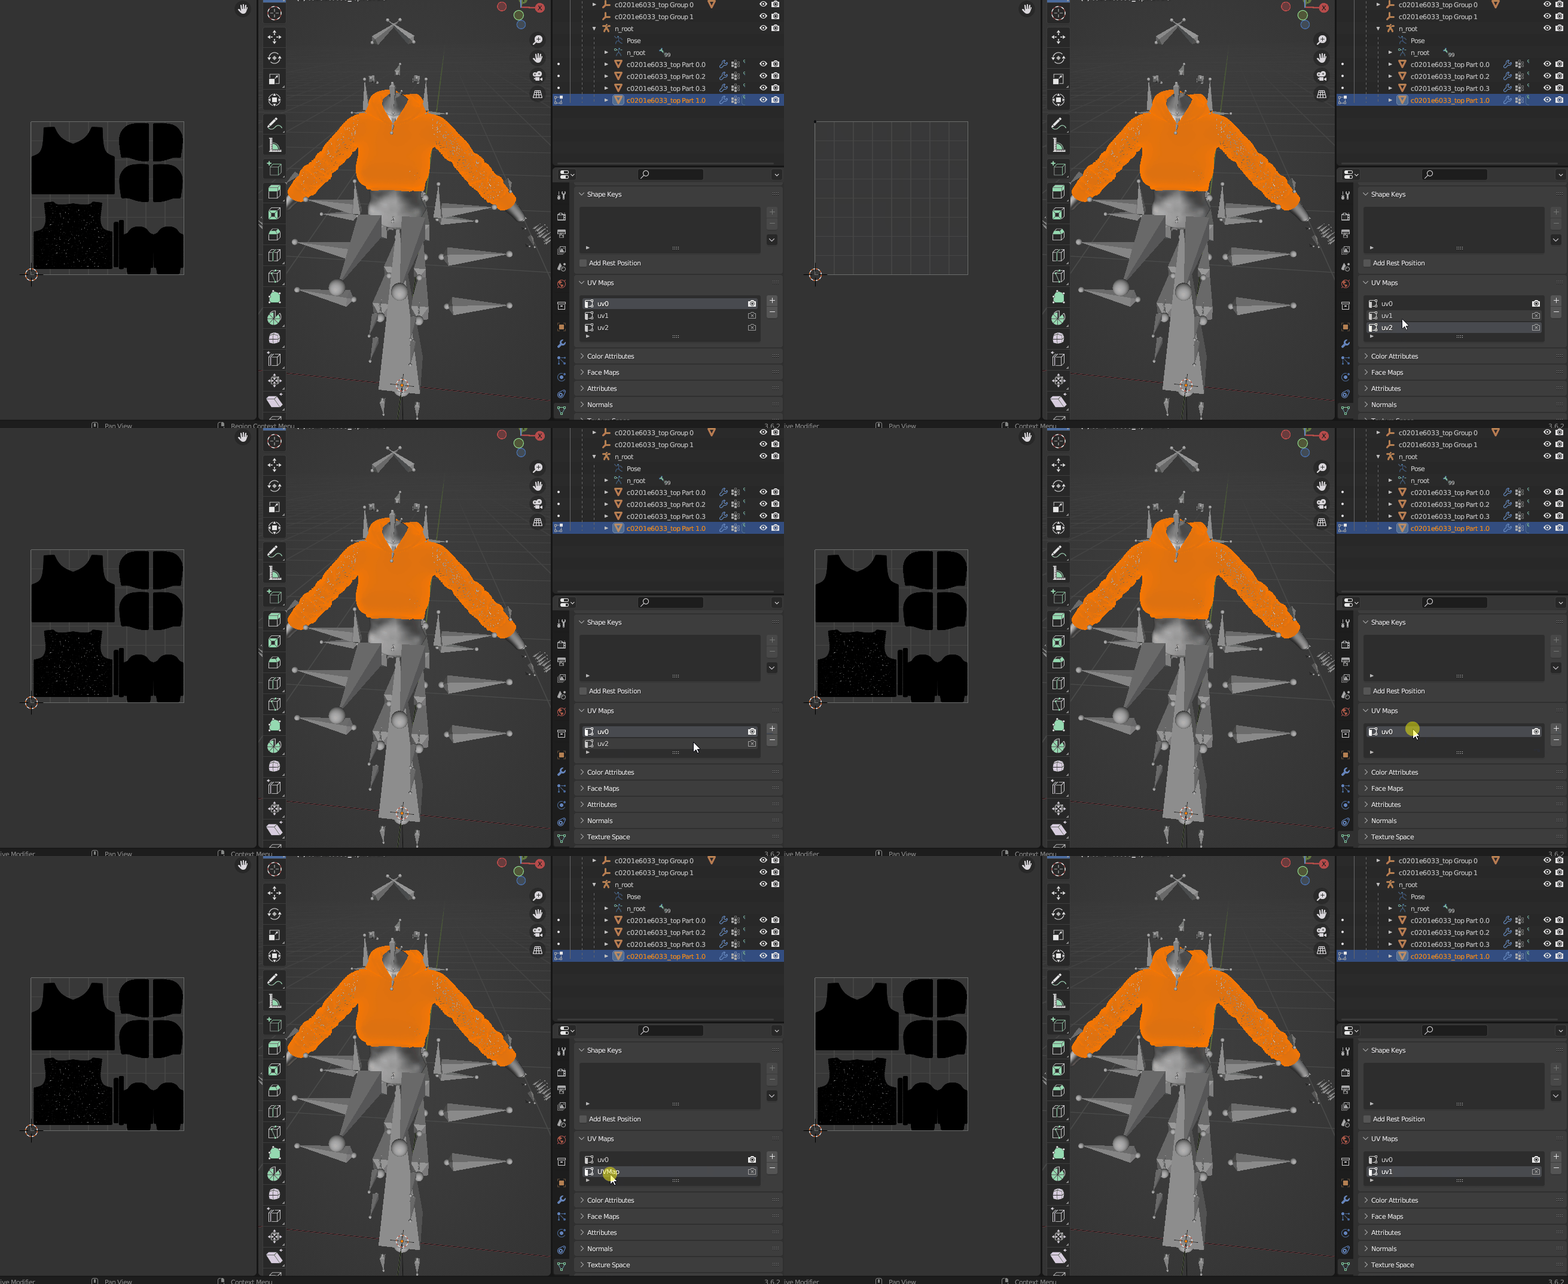
- Select the mesh for the gear item
- Change to UV Editing
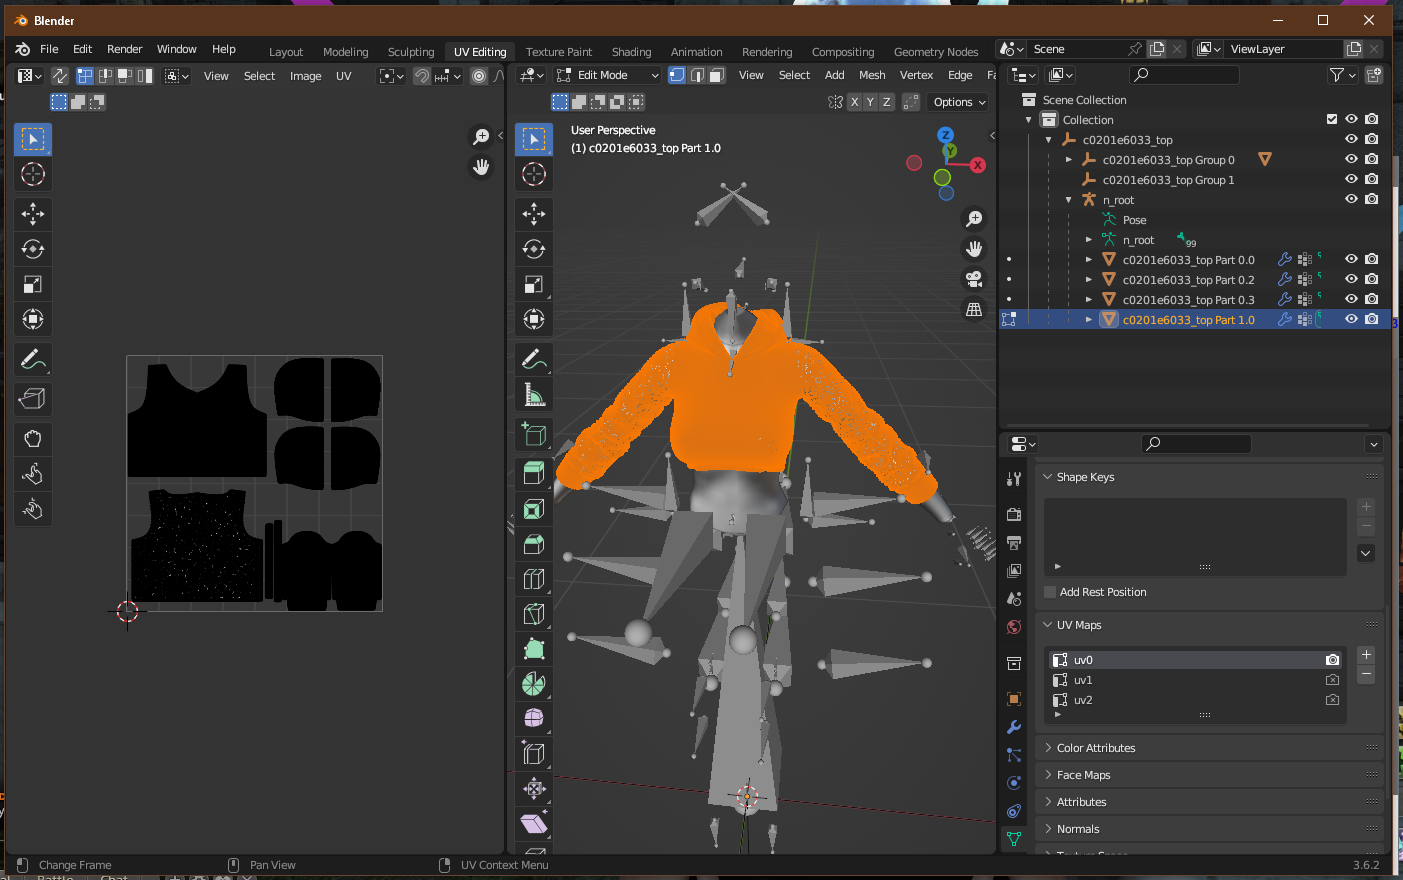
- Change to Edit mode, It should look something like this
- Notice in the Data menu in the bottom right (green triangle), there are 3 uv maps. Delete all but the first one, then click the "+" to add a new one and name it to "uv1". (this makes a copy of the first uv map retaining the uv layout, when normally these extra ones are blank).
- Now export this project as an FBX file.
- In TexTools click "load" on the model and import our new FBX. Click "Save to FF" in the bottom right.
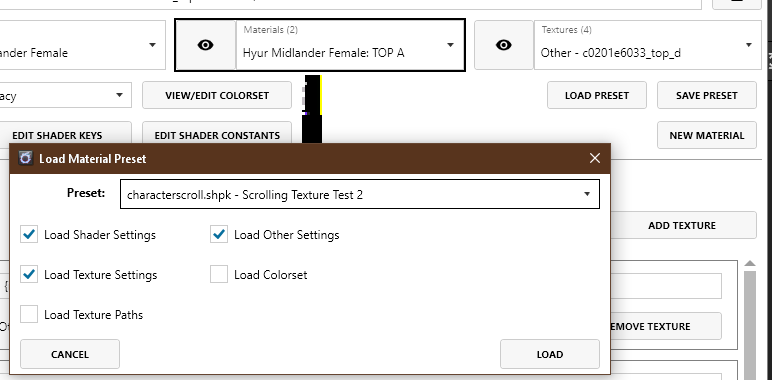
- Next click on the materials tab, click load preset, and use the following settings. Click "Save to FF" in the bottom right.
- Now this next step is odd. I am not sure if this is just an issue with presets, but we need to click the textures menu at the top right and reimport our textures. Make sure between each one to save.
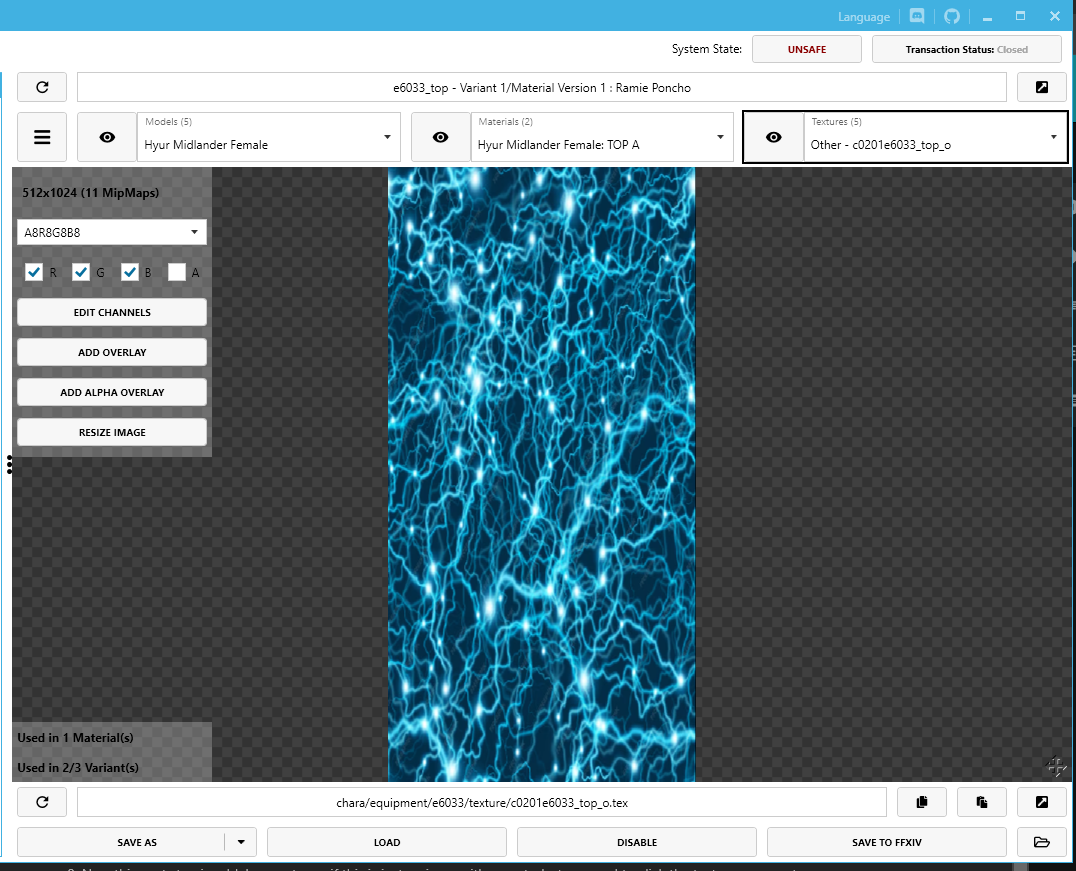
- For the "Other" texture that ends in `_o`, we are going to import our animated texture. Im going to use the blue fire looking one from the original guide. (If this texture is not there, you can add it from the material tab. It needs to use sampler "g_SamplerCatchlight".
- Use penumbra to figure out what colorset row you would like to animate.
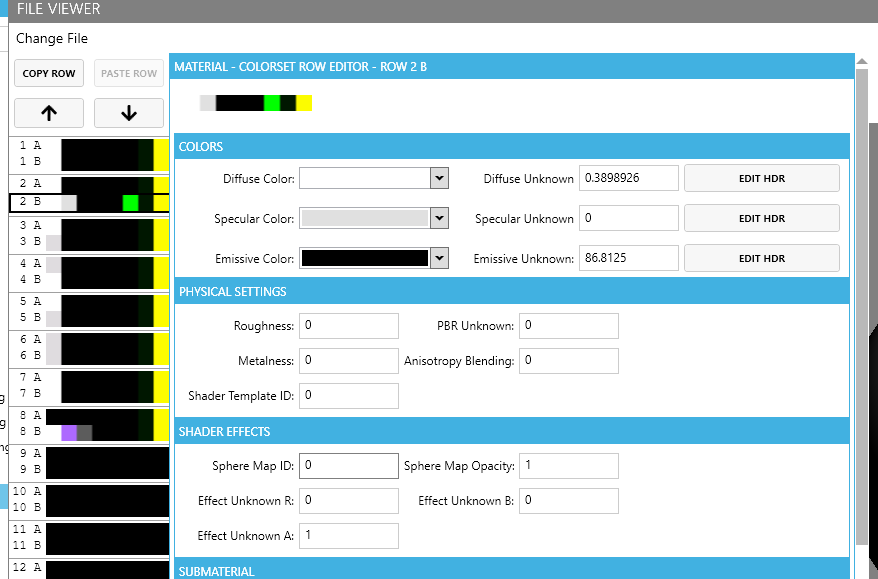
- On the material tab in textools, click "View/Edit Colorset". For the colorset row you want to animate, change "Sphere Map Opacity" to 1 and change "Effect Unknown A" to 1. And click "Save to FF" in the bottom right.
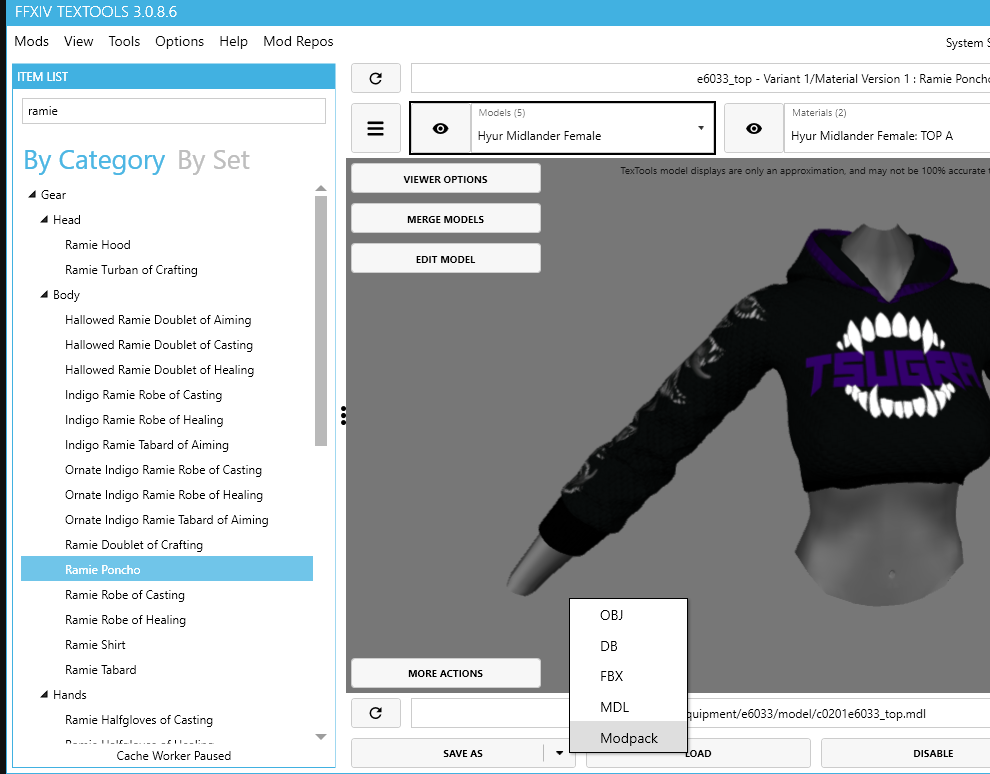
- On the model tab. Click "Save as" -> "Modpack". And export this modpack somewhere.
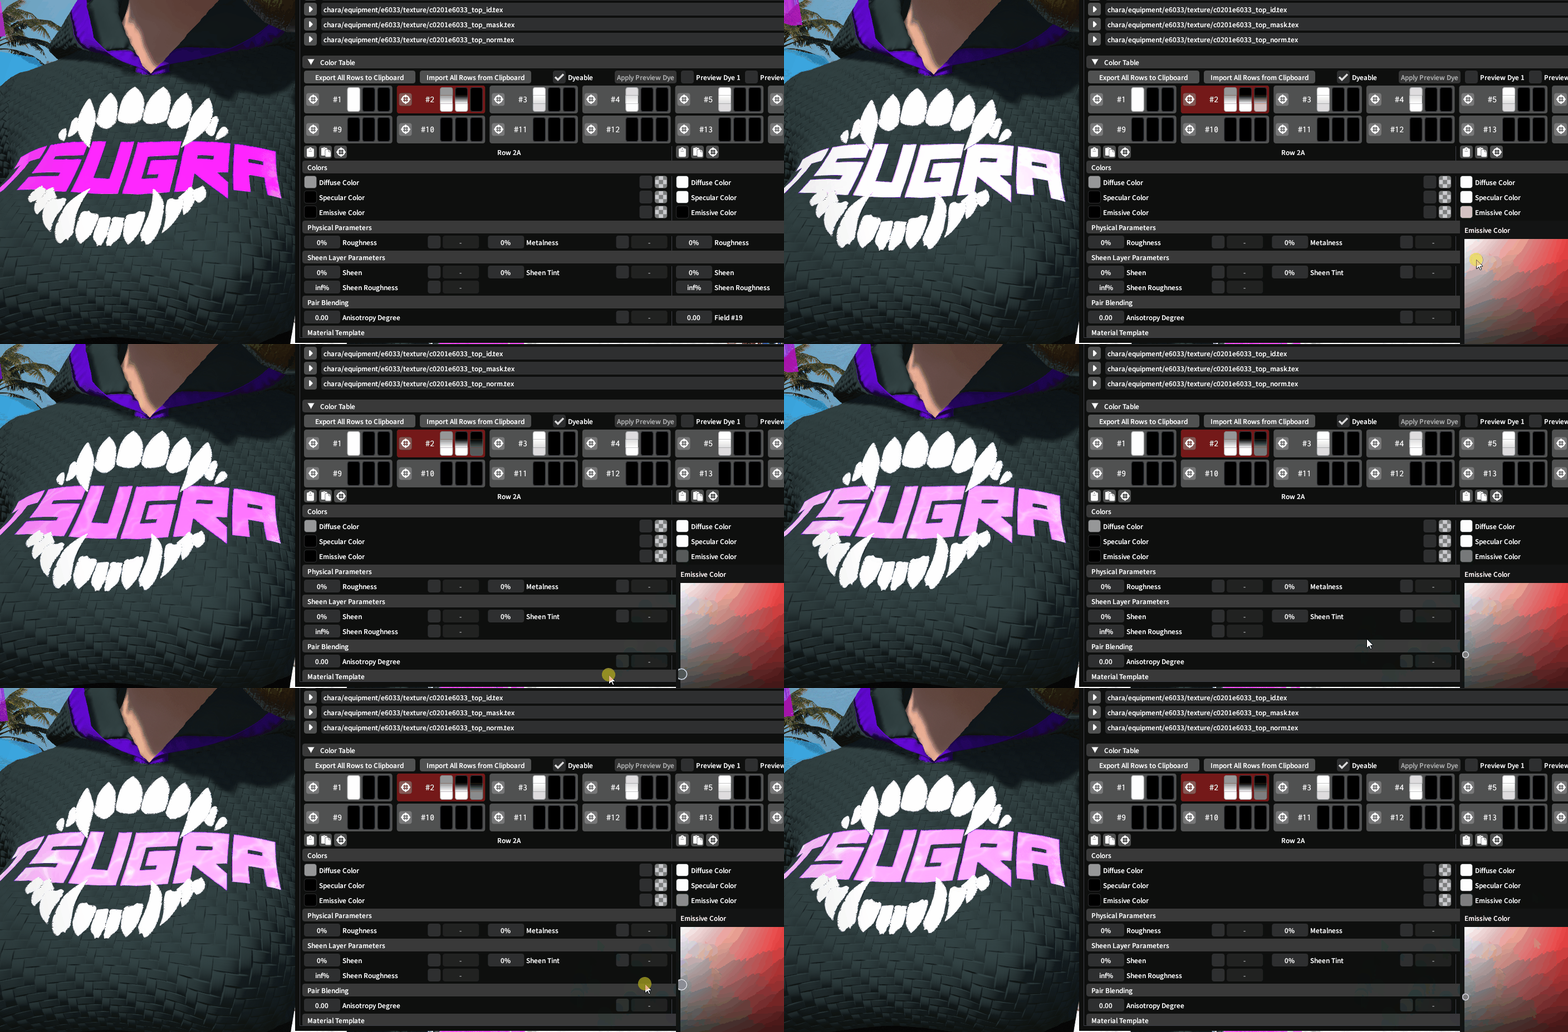
- When you import the modpack into the game. Go to the material then the colorset row that was picked above. Change the emissive color to see what works best.
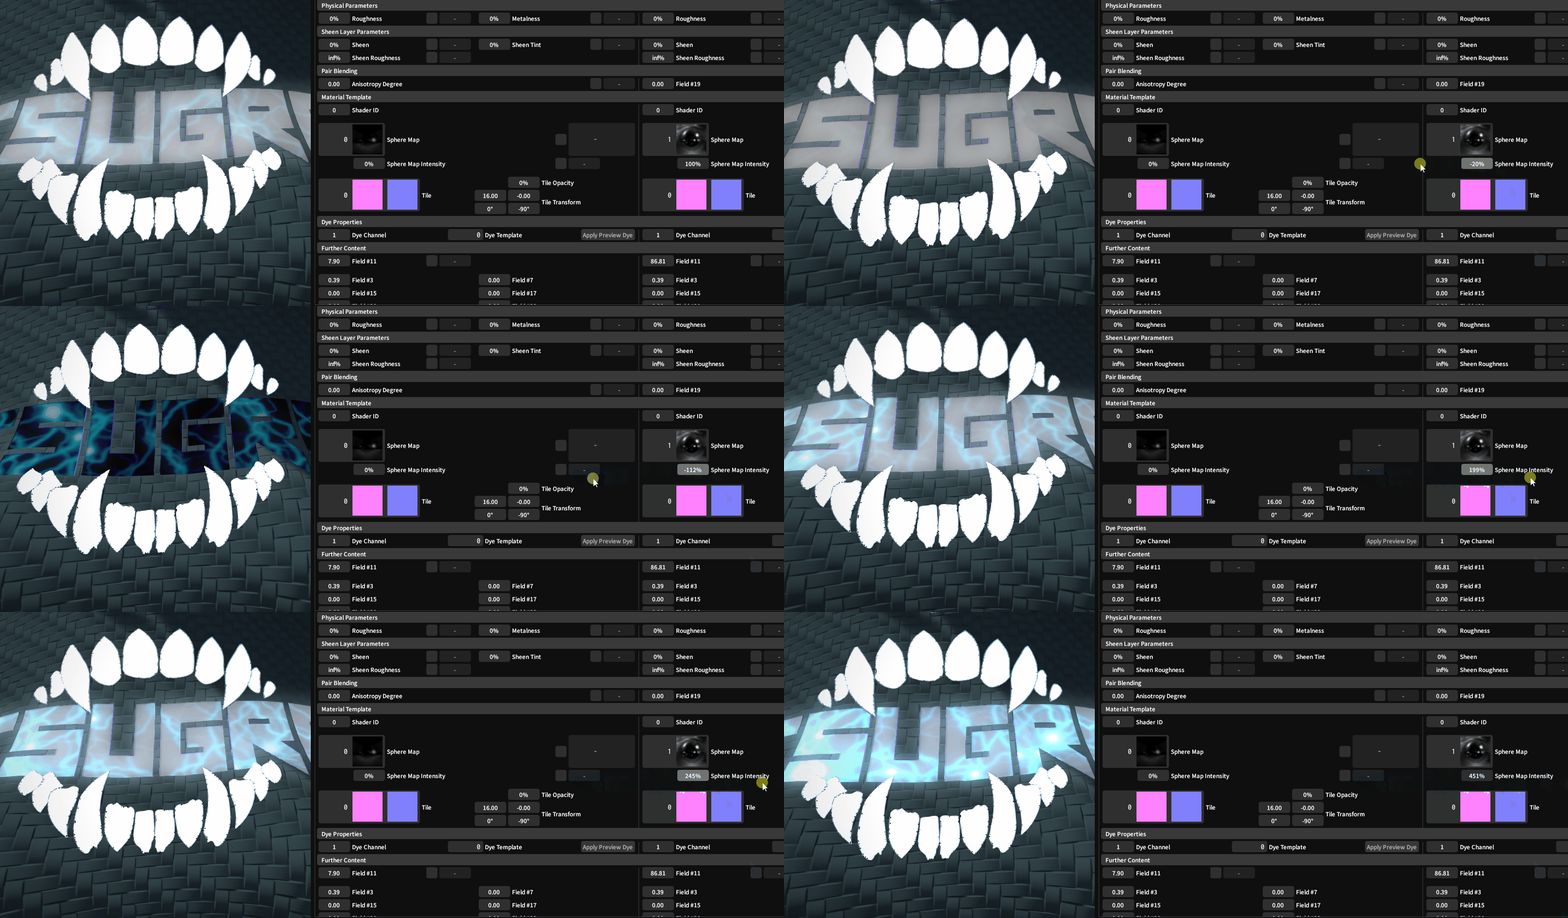
- At the time of writing this, I feel my results are a bit muddy, so there could be further refinements to do. Or I could be doing a step wrong. One thing I did notice is changing the "Sphere Map Intensity" has some interesting effects.
- To change the translation direction we need to edit the material constants at the bottom of the page. Below are the constant reference numbers and what they change (chart from original google doc).
Name
Colorset A Constants
Colorset B Constants
Translate X Speed
0x738A241C
0xE8C5CBFF
Translate Y Speed
0x71CC9A45
0xEA8375A6
Tiling X
0x43345395
0xD87BBC76
Tiling Y
0x4172EDCC
0xDA3D022F


No comments to display
No comments to display