Marking as Sharp
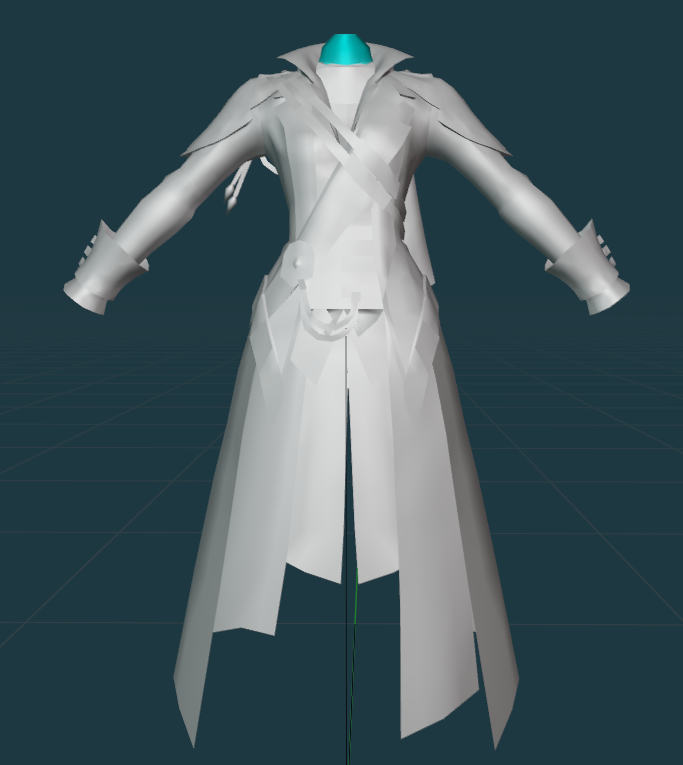
After you’ve merged by distance, you’ll notice that a lot of edges will look distorted or particularly muddy in the shading viewport. There’s a few things we can do to try to fix this, but the one that will work the best is marking things as sharp at places where two parts combine at an acute angle. We do this to instruct blender on how the mesh should be shaded. Many outfits from SE are made with very sharp angles that would otherwise cause awkward shading if not marked as sharp.
When you merge by distance, you can select Sharp Edges in the Merge by Distance menu (by default, it appears in the lower left corner of the viewport) if you want Blender to try and guess what parts should be sharp for you. I find that it does okay at it - it’s not the best, and you will probably have to manually adjust some things, but it’s a good starting point. However, I find that it frequently thinks seams are meant to be marked as sharp, leaving big ol pointy parts on your mesh.
To fix these pointy problem areas, enter edit mode and make sure your selections are set to Edges. Then, click those edges that are giving you problems and right click > Clear Sharp. Then you can try averaging to fix the issue (if it doesn’t fix itself automatically after you clear sharp).
Before fixing it by clearing Sharp:
And after clearing Sharp:

You may find that there are situations, such as a sharp collar, where Blender or the mesh did NOT mark it as sharp but you think it would look better as a sharp edge. In these situations, you would follow the above instructions, but instead of selecting clear sharp you will instead select Mark Sharp which is right beside its clearing cousin in the dropdown menu.
After you’ve sharped to your satisfaction (or unsharped!) go ahead and set from faces > average by either corner angle (usually my go-to) or face area.
This is sort of a back and forth situation. I’ll set from faces/average, see if I’m happy with it. If I’m not happy with it, I’ll go back and add more sharp faces/remove sharp faces. There are not really pictures to show because it’s going to be deeply individual to the upscale you’re working on. I’ll show some more pictures of areas I may ADD or REMOVE sharp parts from however, to guide you on your way.
Remember that Vanilla meshes are more prone to showing discoloration on the mesh than modded outfits and fix appropriately.
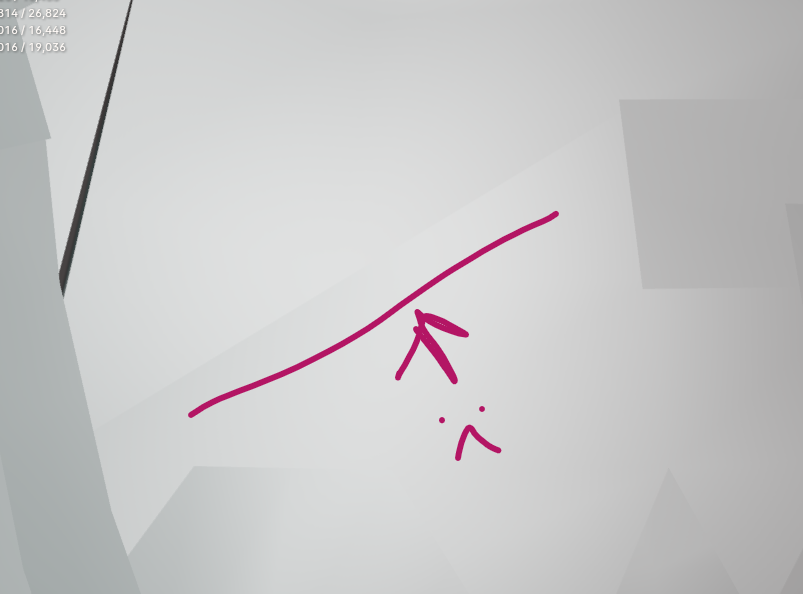
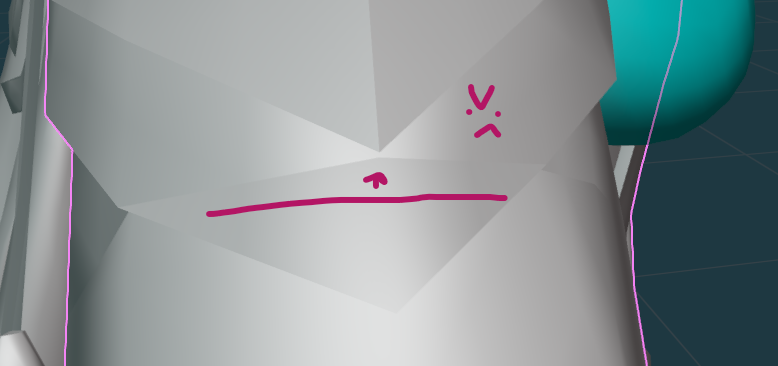
This part doesn’t have any sharp marking, which has caused some distortion:
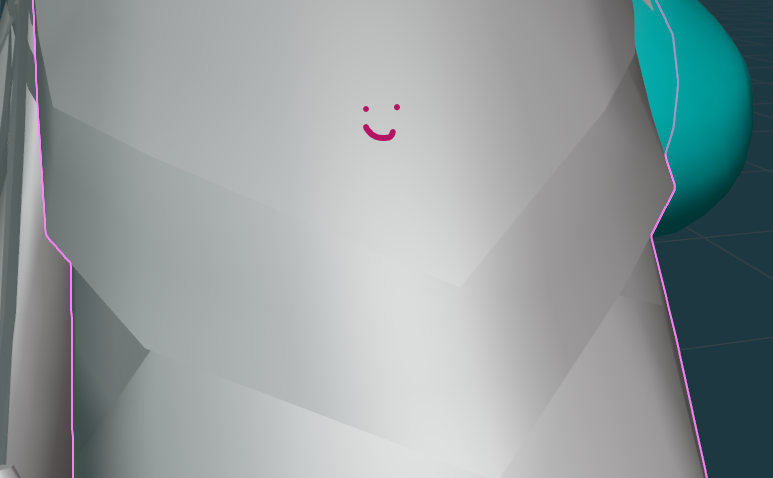
Marking the angle as sharp gets you this:
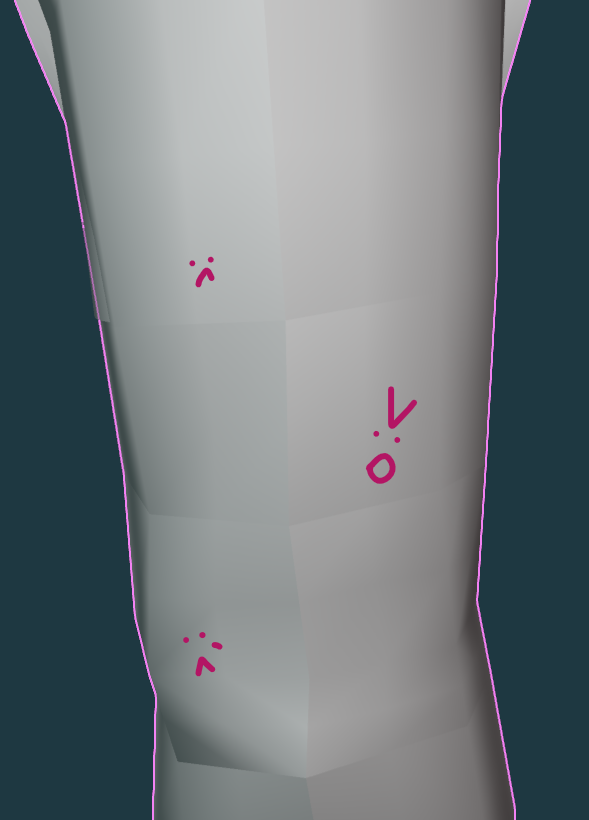
The autosharp tool off of merging by distance marked ALL these seams as sharp and that’s BAD looking:
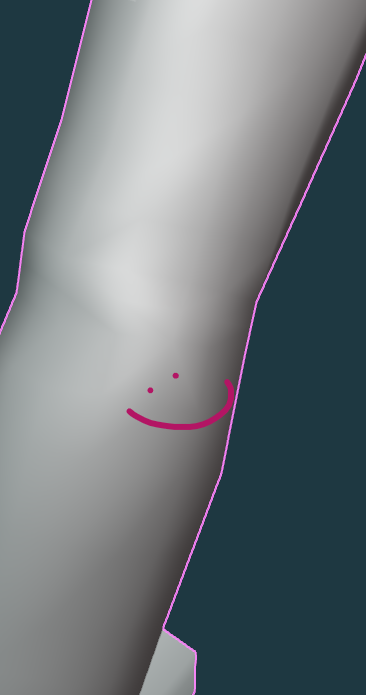
So I Clear Sharp and am left with this:
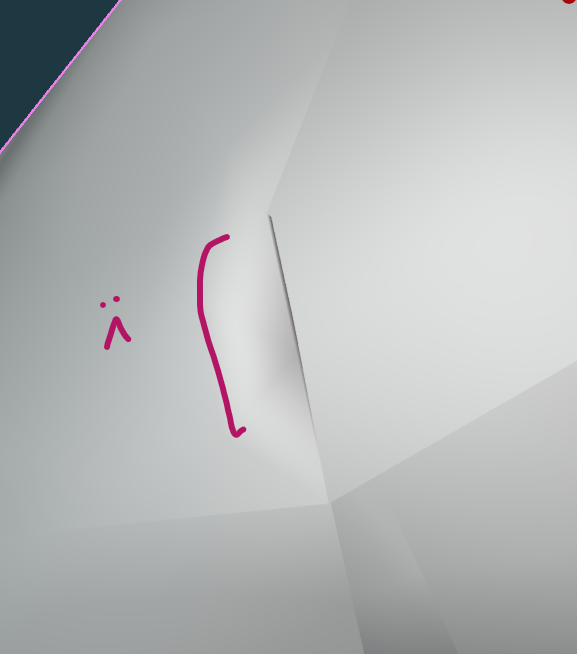
And finally, sharps may be hidden by your seam markings. DON’T BE FOOLED.
Clear your SHARPS and NOT your seams:
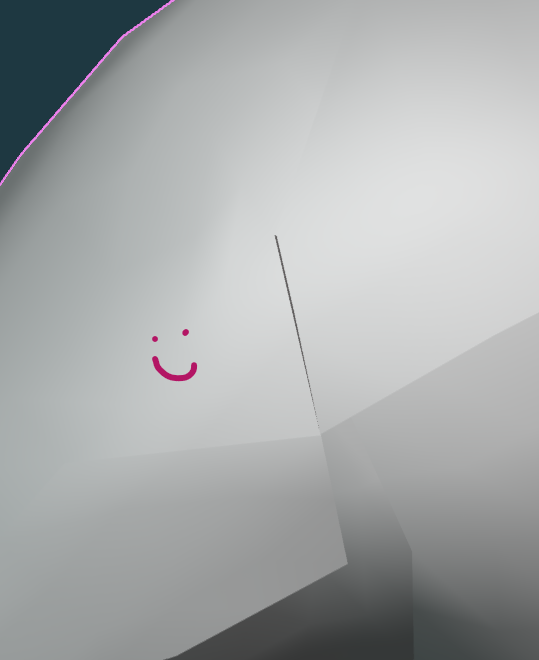
LOOK THE ENTIRE MESH OVER THOROUGHLY! You don’t want to miss one and be sad when it leaves a weird part on your upscale. When you’re done, it looks nice and pretty, something like this!