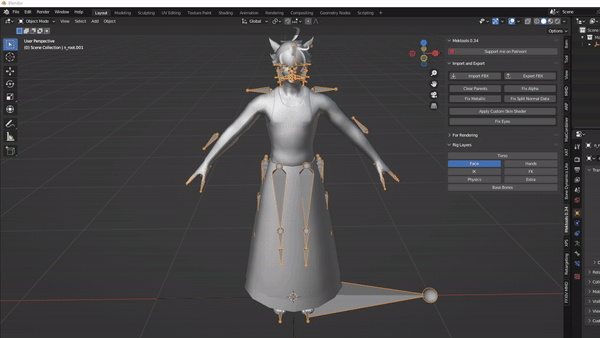
Mwni Retargeting
The process of retargeting with Mwni is very similar to chapter 3.A with some minor differences
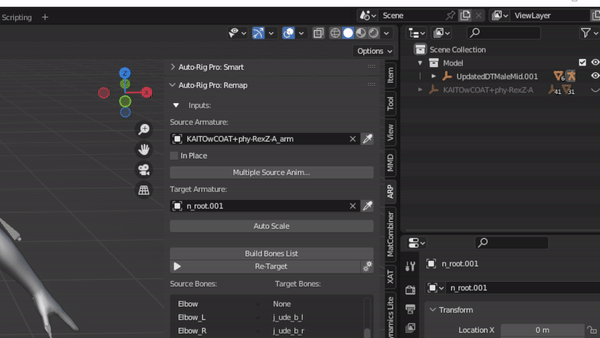
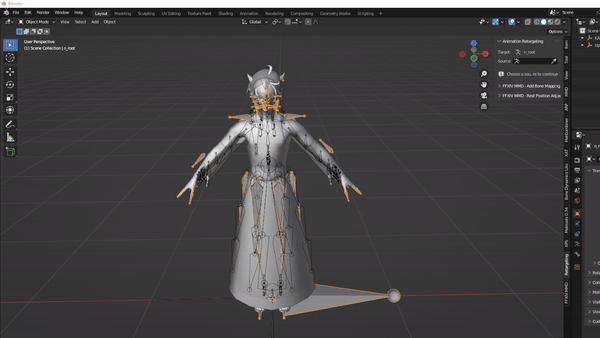
- Look for Animation Retargeting section
- Select the FFXIV armature/skeleton and at the source field, select the eyedropper tool and select the MMD skeleton.
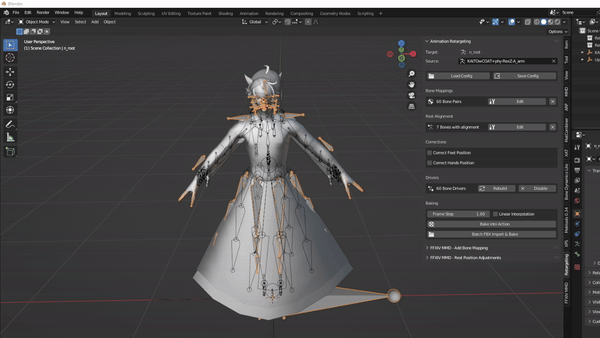
- Here you would have to create the bone mapping ( by selecting the create button) or import a config file (which we have :D)
- Similar to ARP, there should be on central/root bone mapped (n_hara to waist or center).
- One particular aspect of Mwni’s retarget tool is the rest alignment. One bone on your source armature must be rotated or moved for the retargeting to work.
- In the rest alignment section, click on edit. Itll change the current mode to pose mode. Select any bone (pref any upper body bone or arm(s)) and rotate/move it slightly. Then click on apply. If you have a config already you can skip this step.
- Once the bone mapping and rest alignment is complete, try playing the animation. If done right, the FFXIV model should follow along…. roughly.
- But we’re not done yet! It might appear that the animation is on the FFXIV model but it has not been baked into it yet.
(HIGHLY RECCOMEND SAVING YOUR BLENDER FILE BEFORE BAKING)
- With your file saved, click the “Bake into Action” button. This will apply the retargeting motion to the FFXIV model.
- One of my few issues with Mwni’s tool is the time it takes to bake. It can take up to 30min - 1hr to fully bake an animation . This varies depending on the length of your animation.
- After it has finished baking, in the scene collection, right click on kaito’s empty and delete it
- Try playing again to verify it has succesfuly baked. If not, save first then do ctrl + z to revert.
- Select the FFXIV skeleton and go into pose mode.
- Press A for select all. Find the Pose button > animation > bake action.
- unselect Only select bones and have visual keying and clear constraints enabled
- Click on Ok (make sure to save before hand) and wait for the baking to finish
- In the Scene Collection, navigate to the n_root. There will be an icon below it that stores the animation. This is called the track. Double click on it and rename it to something you will recognize. (ie. Finished Dance , etc)
- Before exporting make sure to adjust the primary and secondary bones in the armature section to match the orientation the bones were imported as.
- Most do X on primary and Y on Secondary to make viewing bones much easier for refining animation
- Otherwise, this will happen