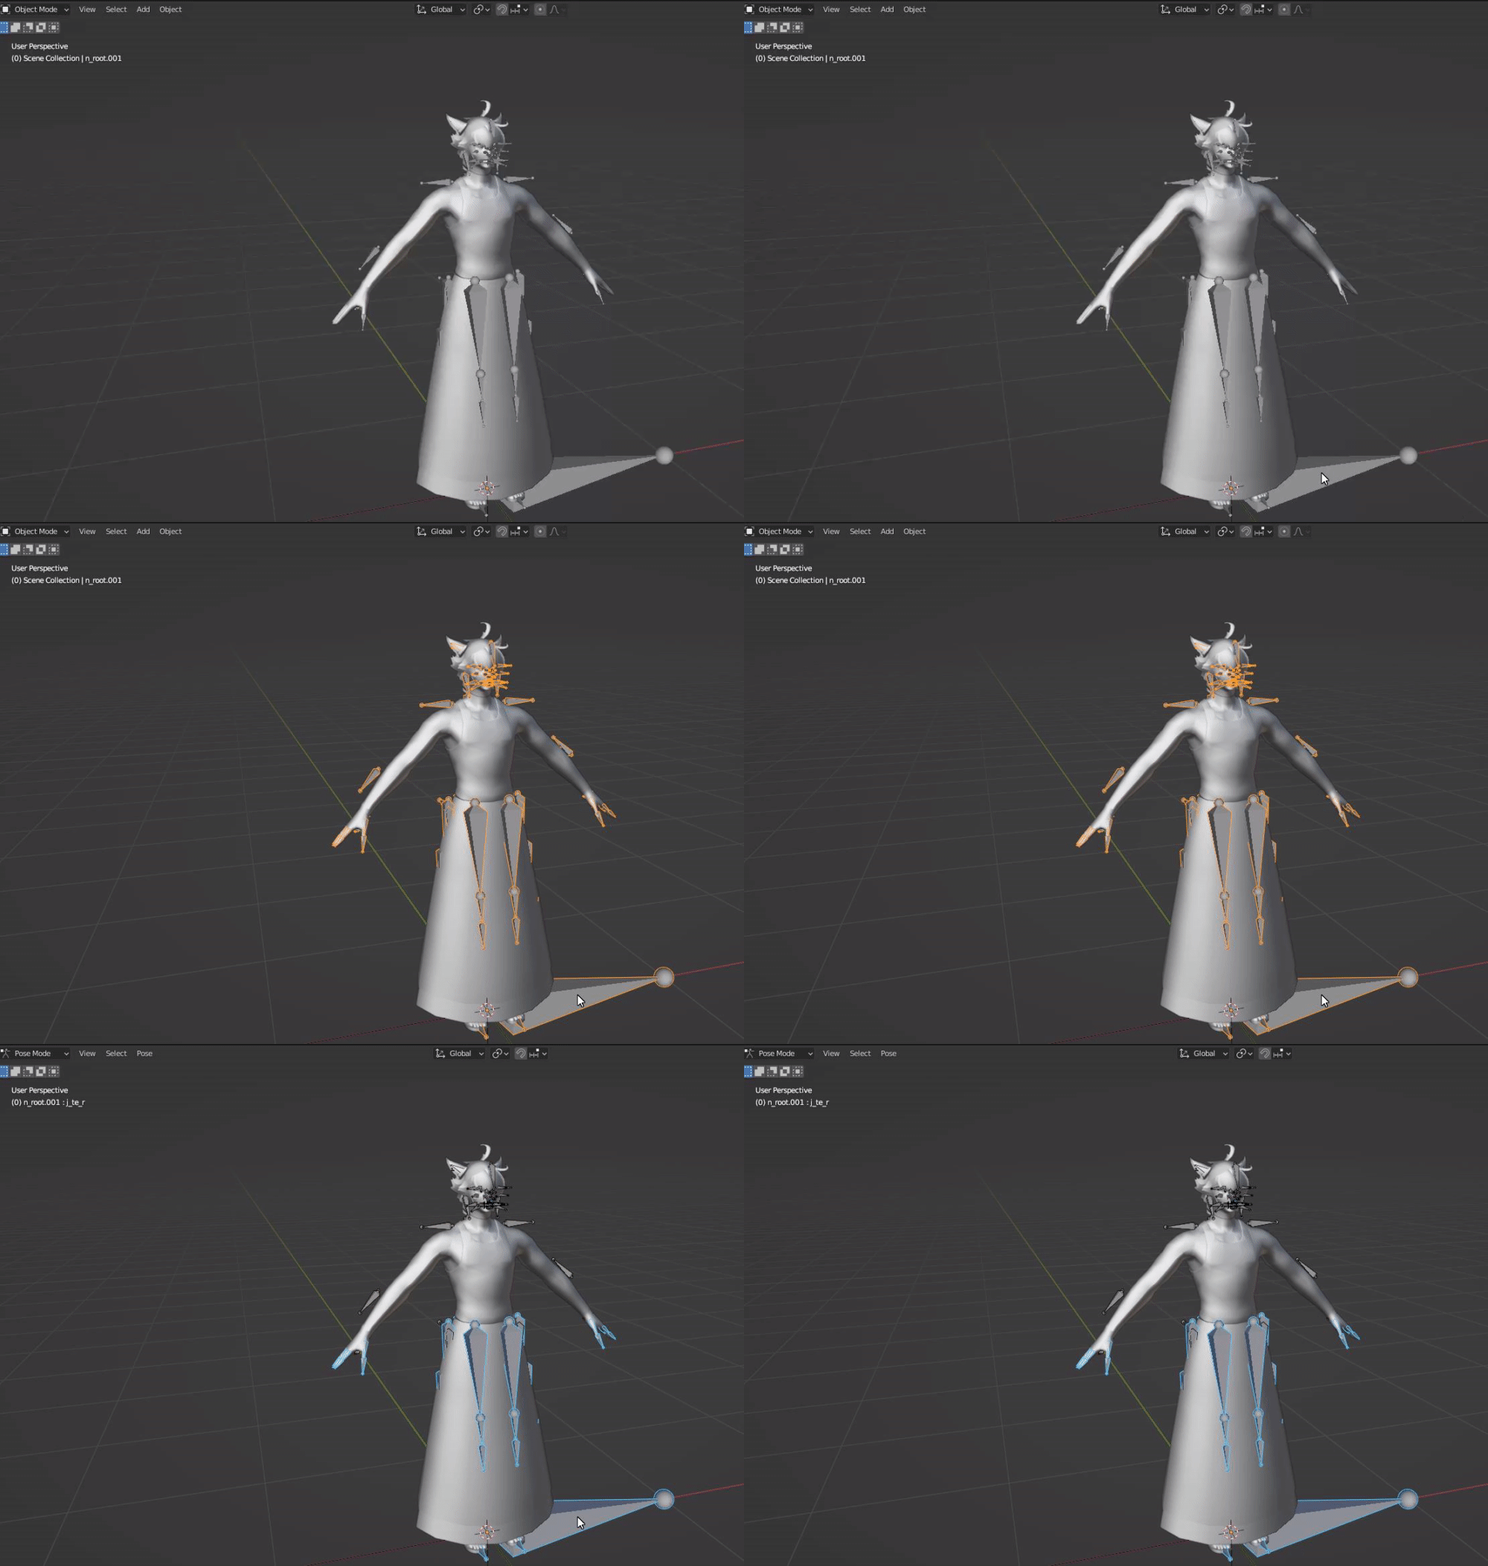
Ear/Tail Physics
Ear and tails are the easiest to implement! To demonstrate , I will be using Bone Dynamics Pro. You can use the free lite version (honestly what I use).
With working with ear physics , you will essential double your work flow. If you want to include ear physics option and a static ear option (for non elezen, mitoqe and lalafel), youll have to create a version for static ear too.
As with anything involving Blender, please make sure you are saving frequently!!
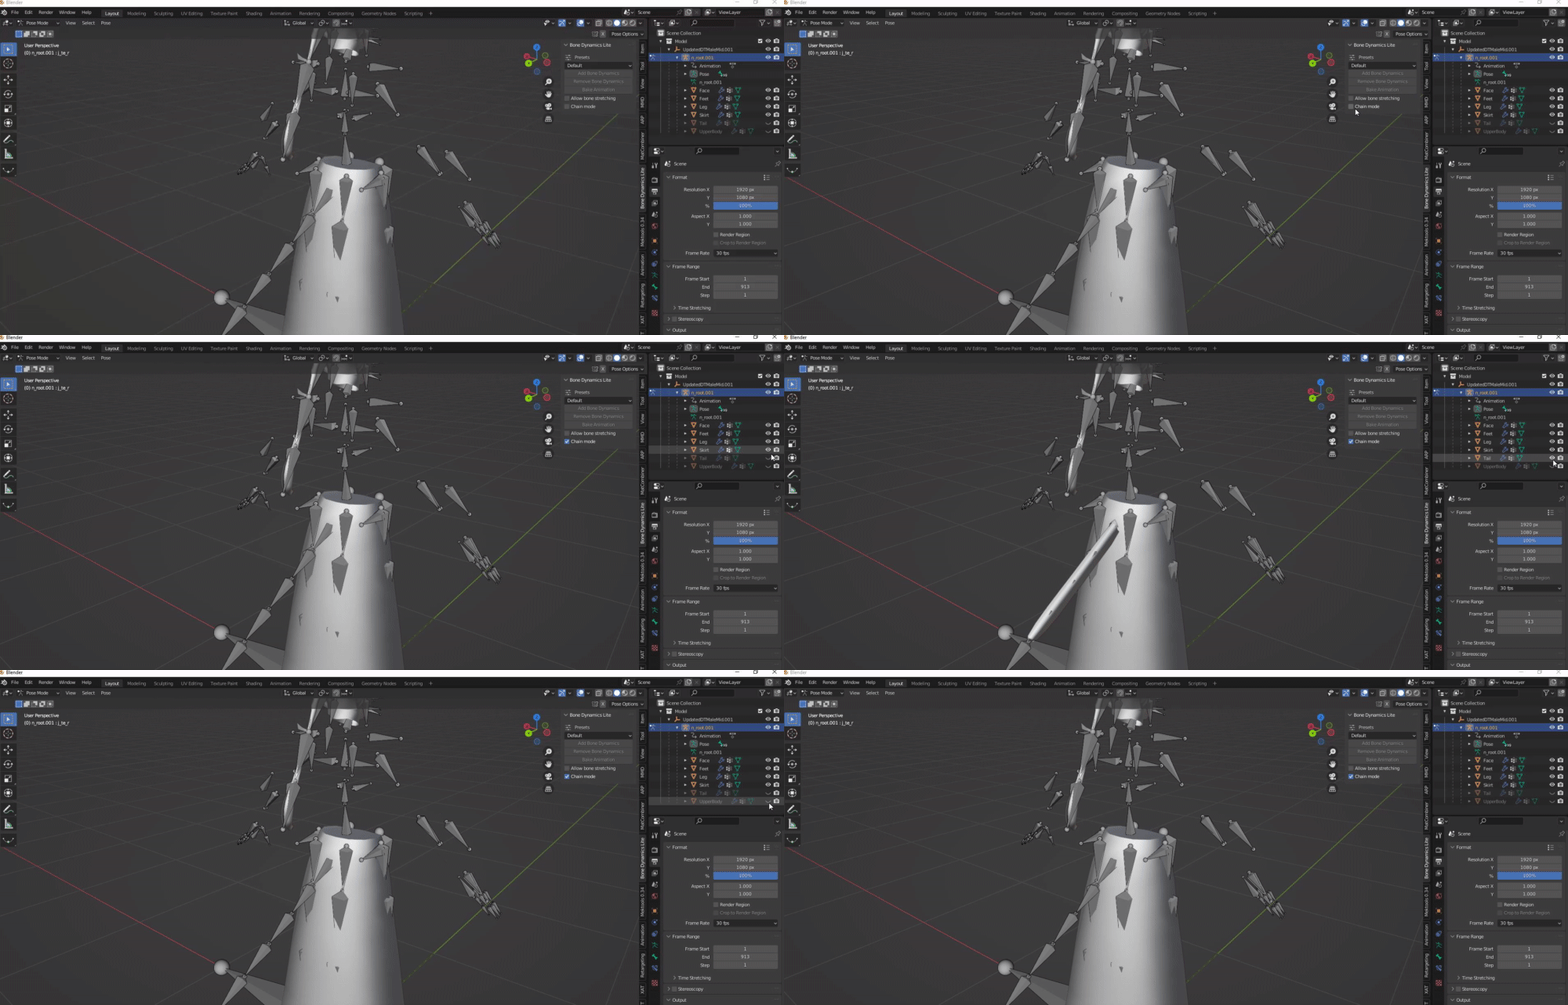
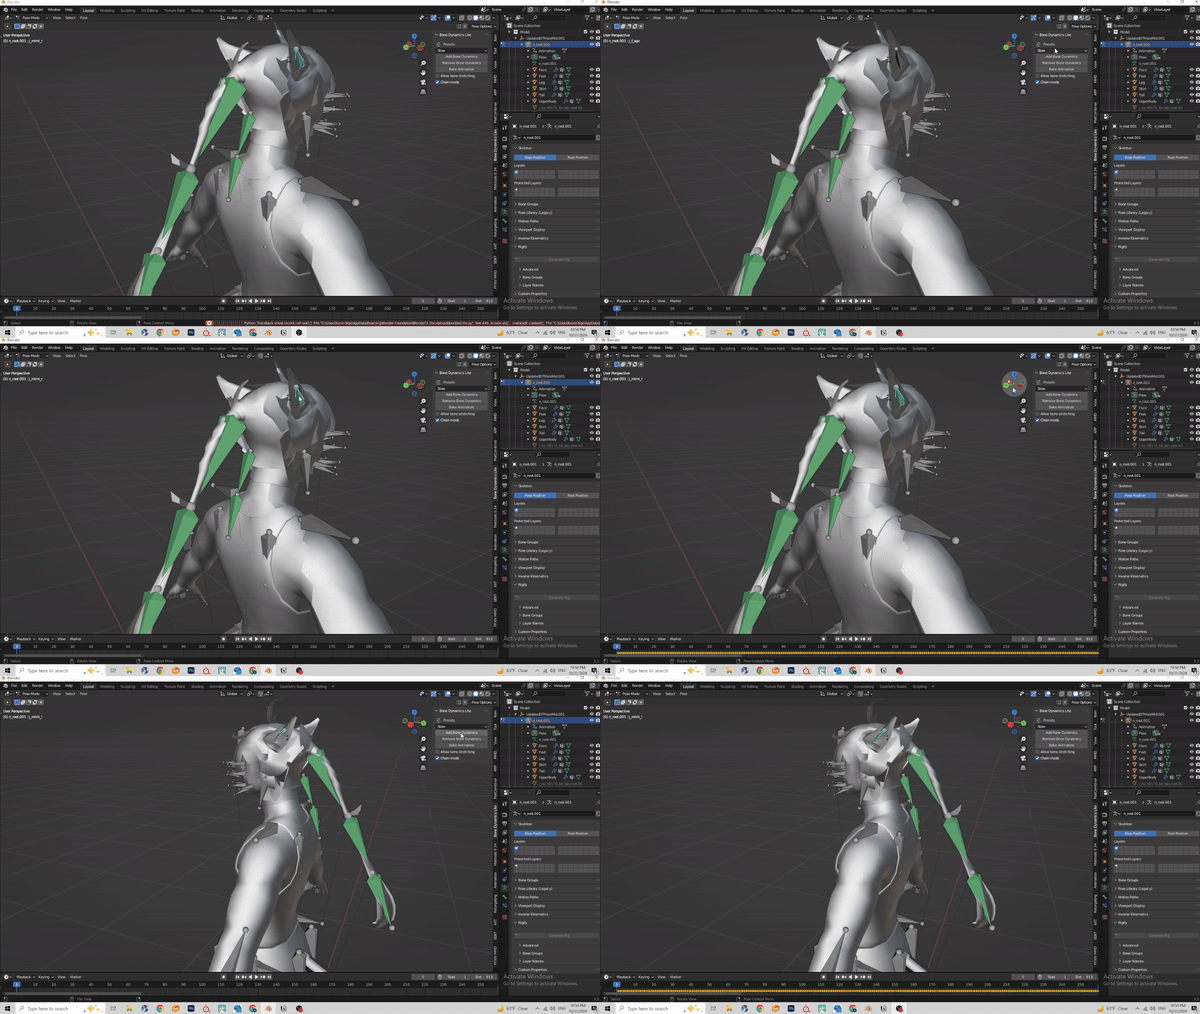
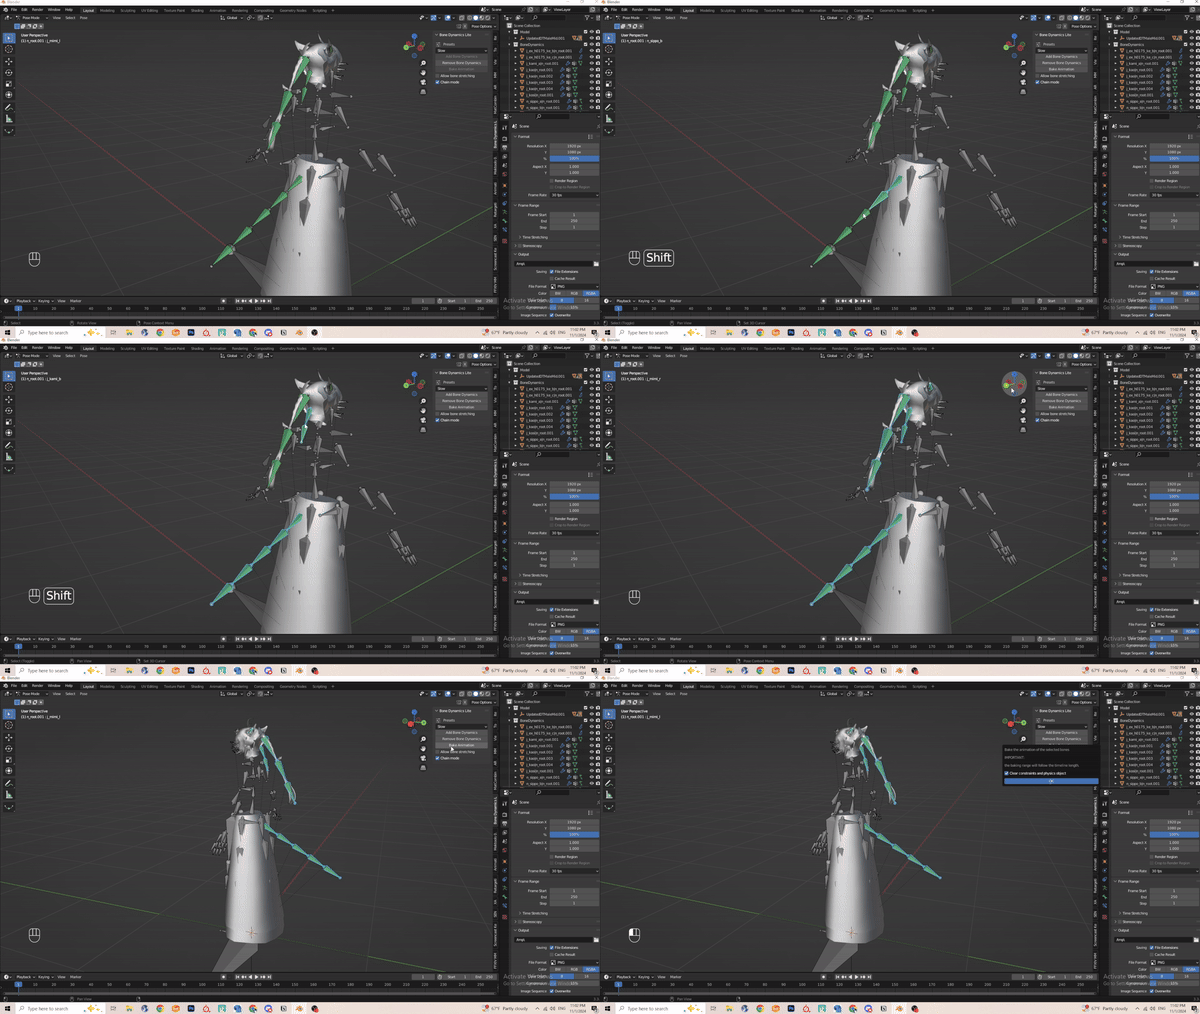
- Select your armature and go into pose mode.
- Rotate camera behind and disable the UpperBody and Tail Mesh so we can see the bones more clearly.
- Navigate to the Bone Dynamic Lite Tab and enable “Chain Mode”
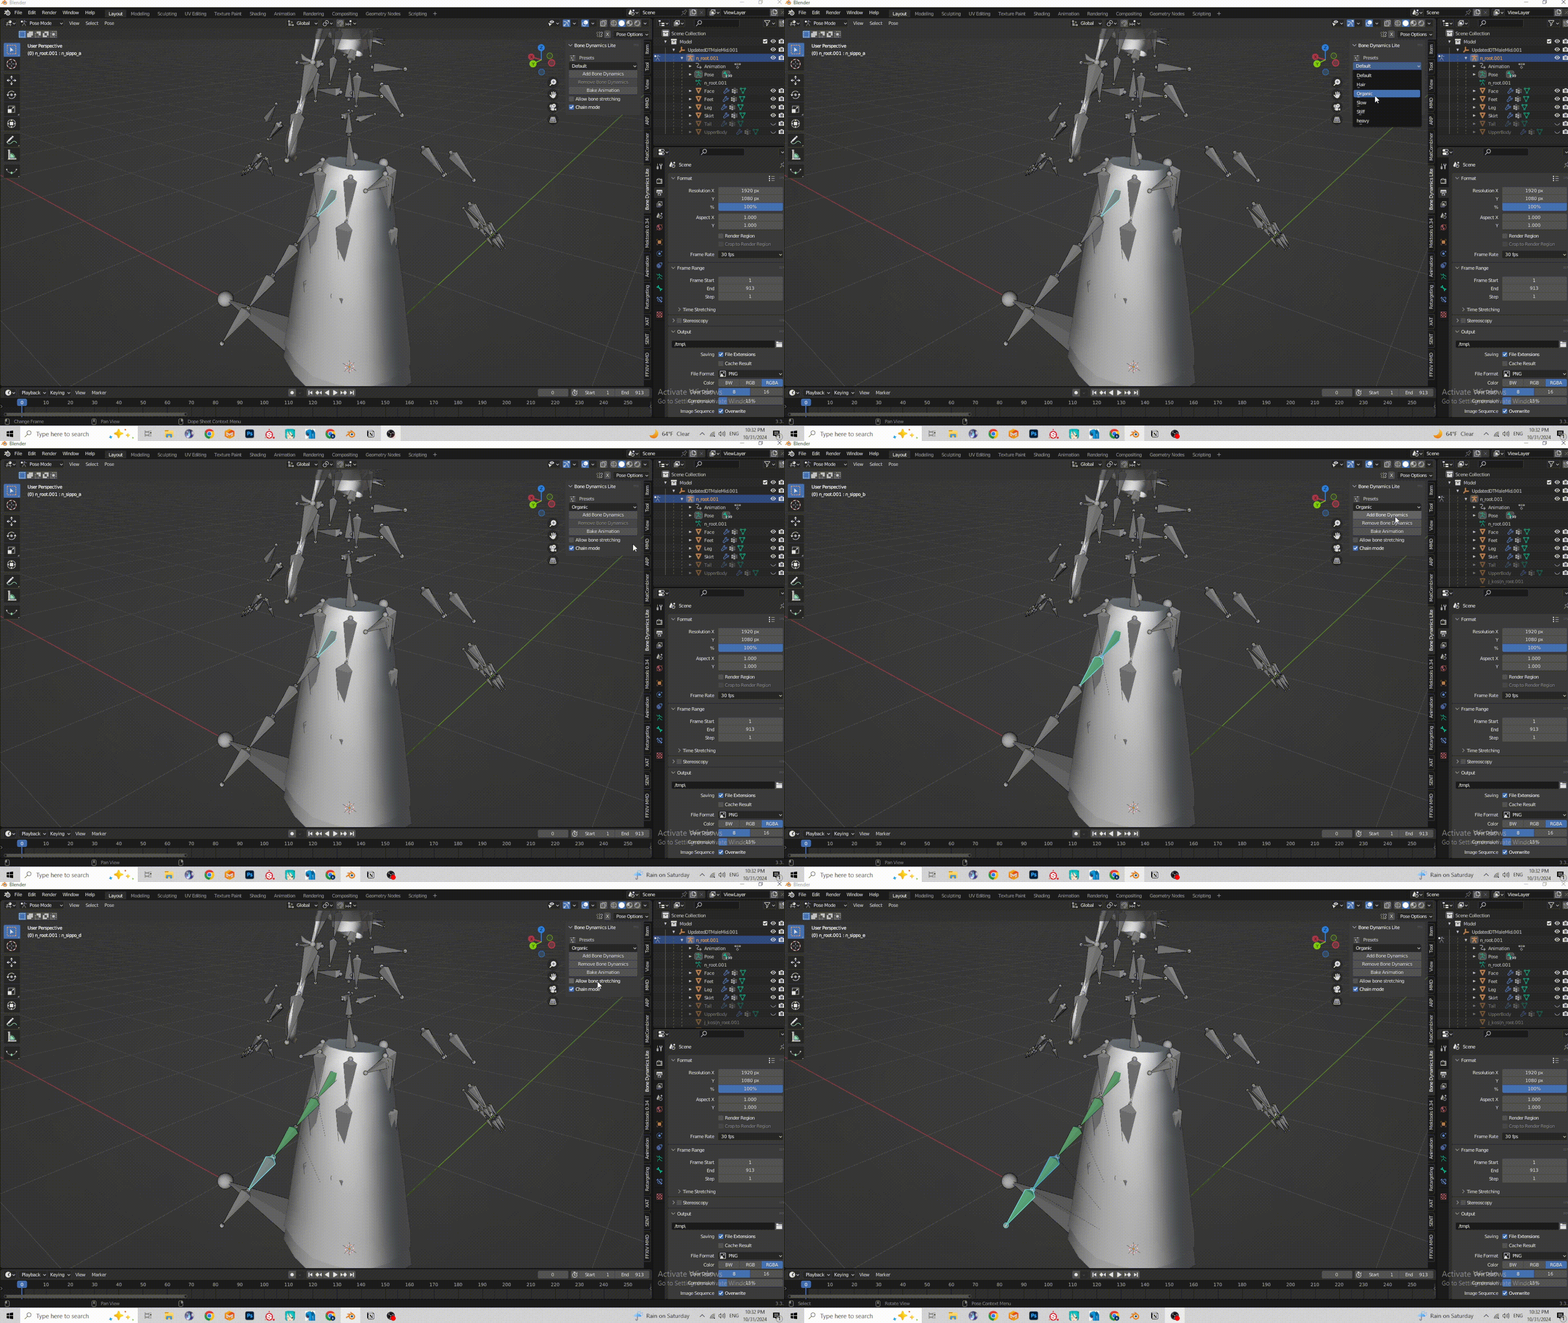
- For Tail and hair, I usually use the organic preset. Very smooth and feels natural to me. Feel free to test other presets!
- If you are using BD Pro, you are able to make your own preset and adjust parameters to your liking.
- We’ll have to select the bones from the beginning to end. In this example we’re starting with n_sippo_a.
- With the bone selected, click on the add bone dynamics option. This will change the bone to a green color
- Repeat previous step until you have reached the end of the tail
- The process is the same for the hair. Hair bones are:
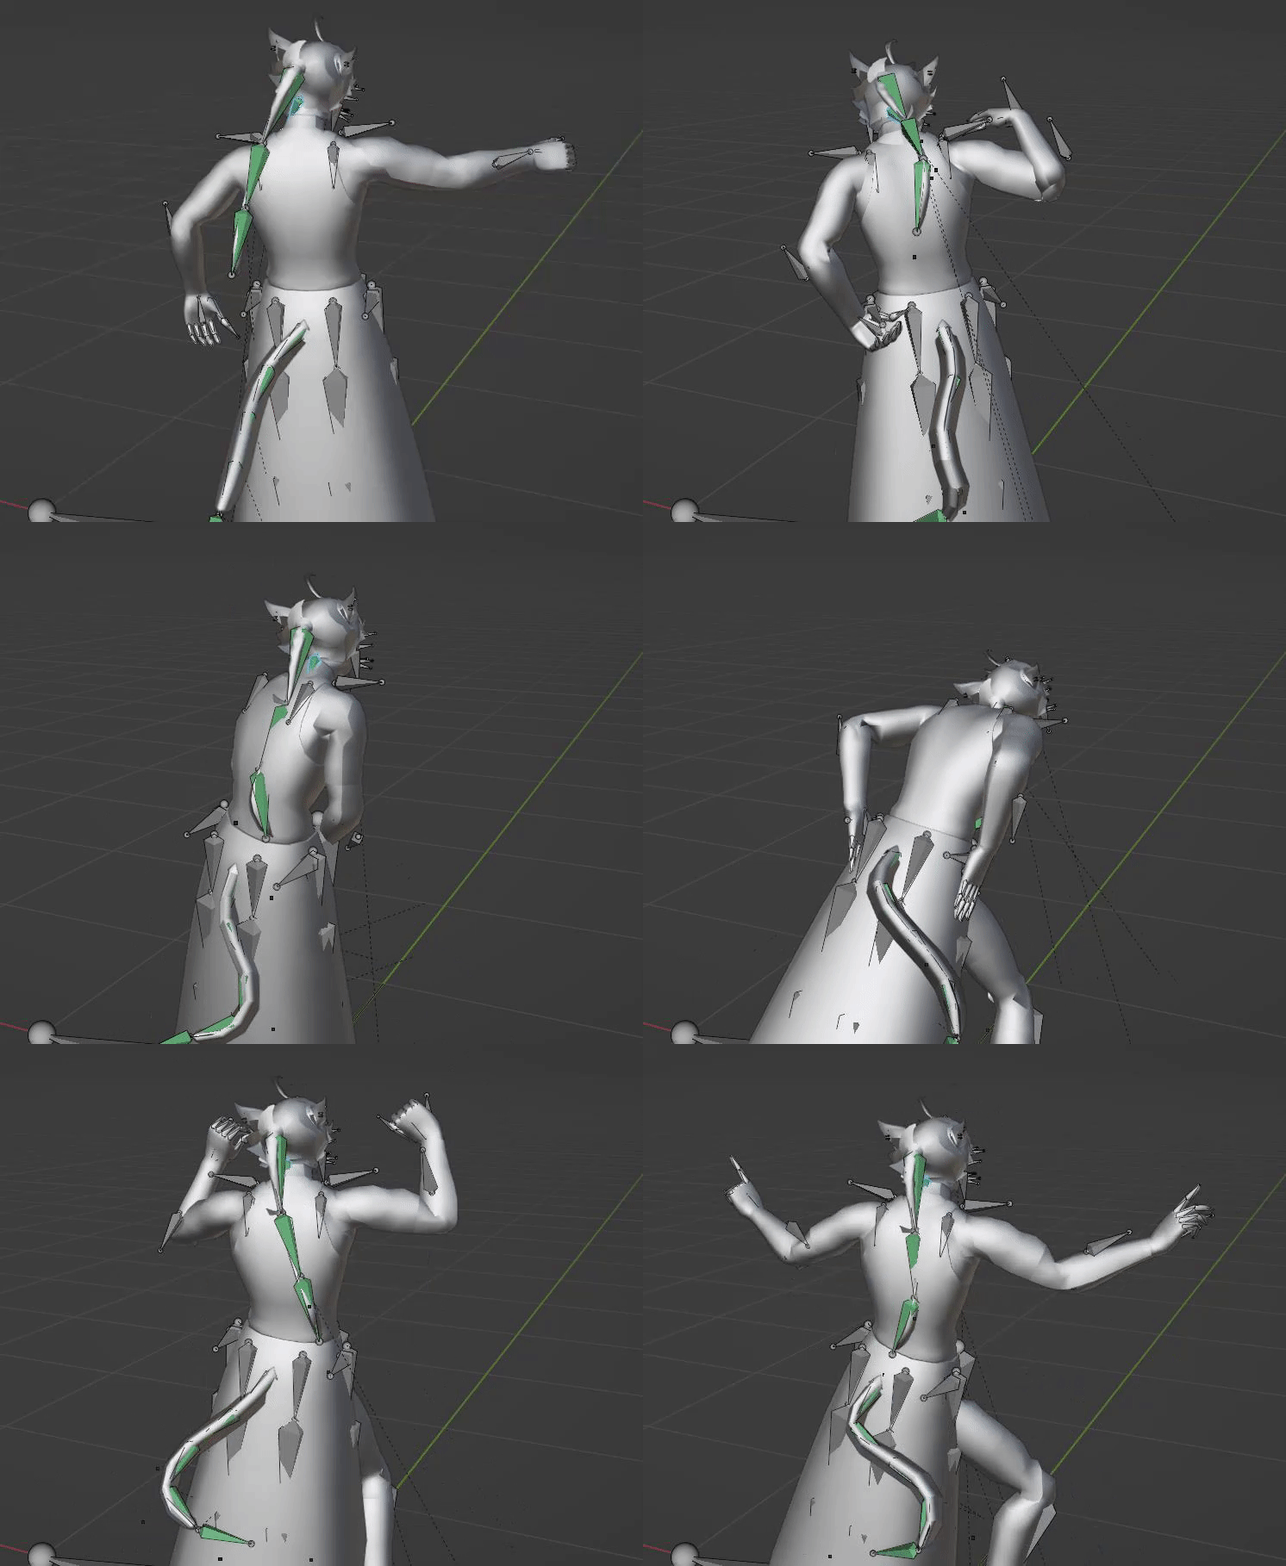
- Here is a little preview of the physics. Not too bad!
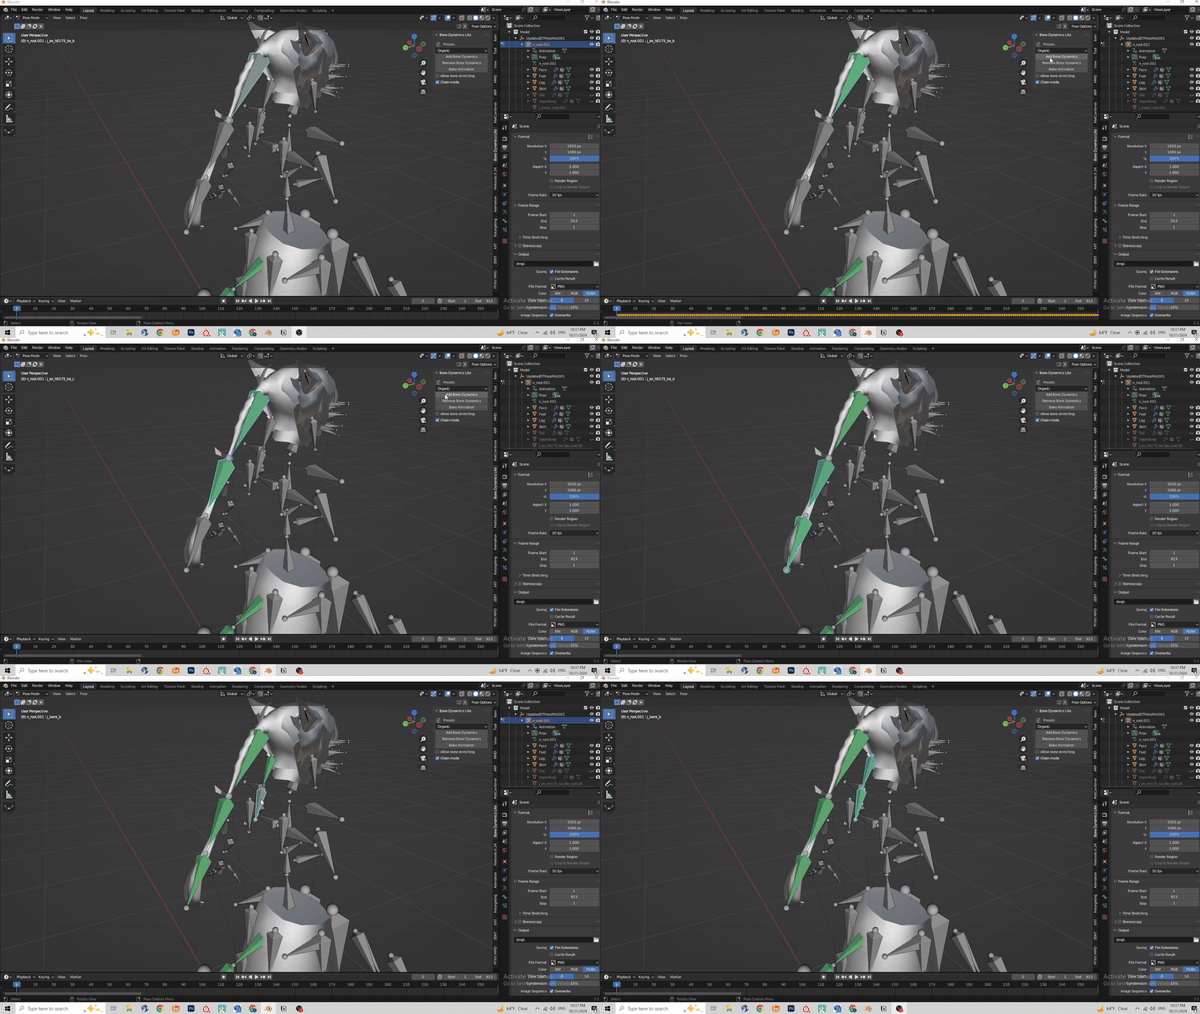
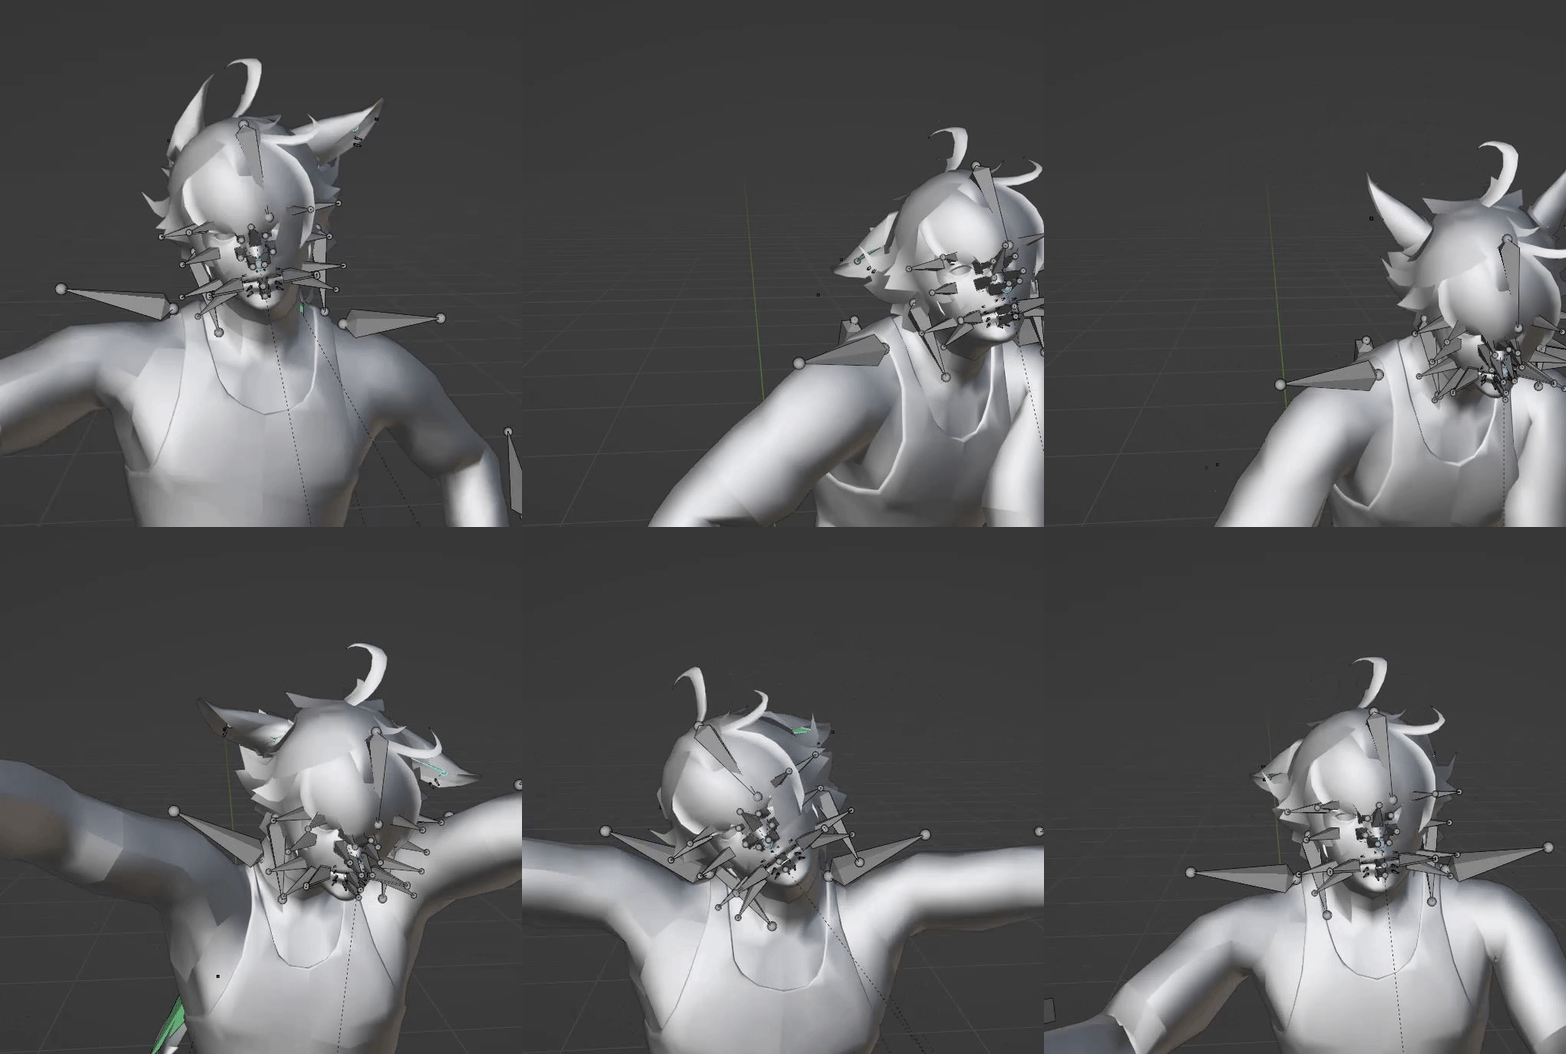
- Now for ear physics. This is where things get a bit weird. Lalafels, Elezen and mitoqes use the j_mimi bones, viera use a completely different ear bone (j_zerc). So (in theory atleast) ear physics using the j_mimi bones will not be comptabile with viera ear bones.
- Ear bones can be a little hard to see sometimes
- For ear physics, I use the Slow option. Organic makes it too flowy for my taste.
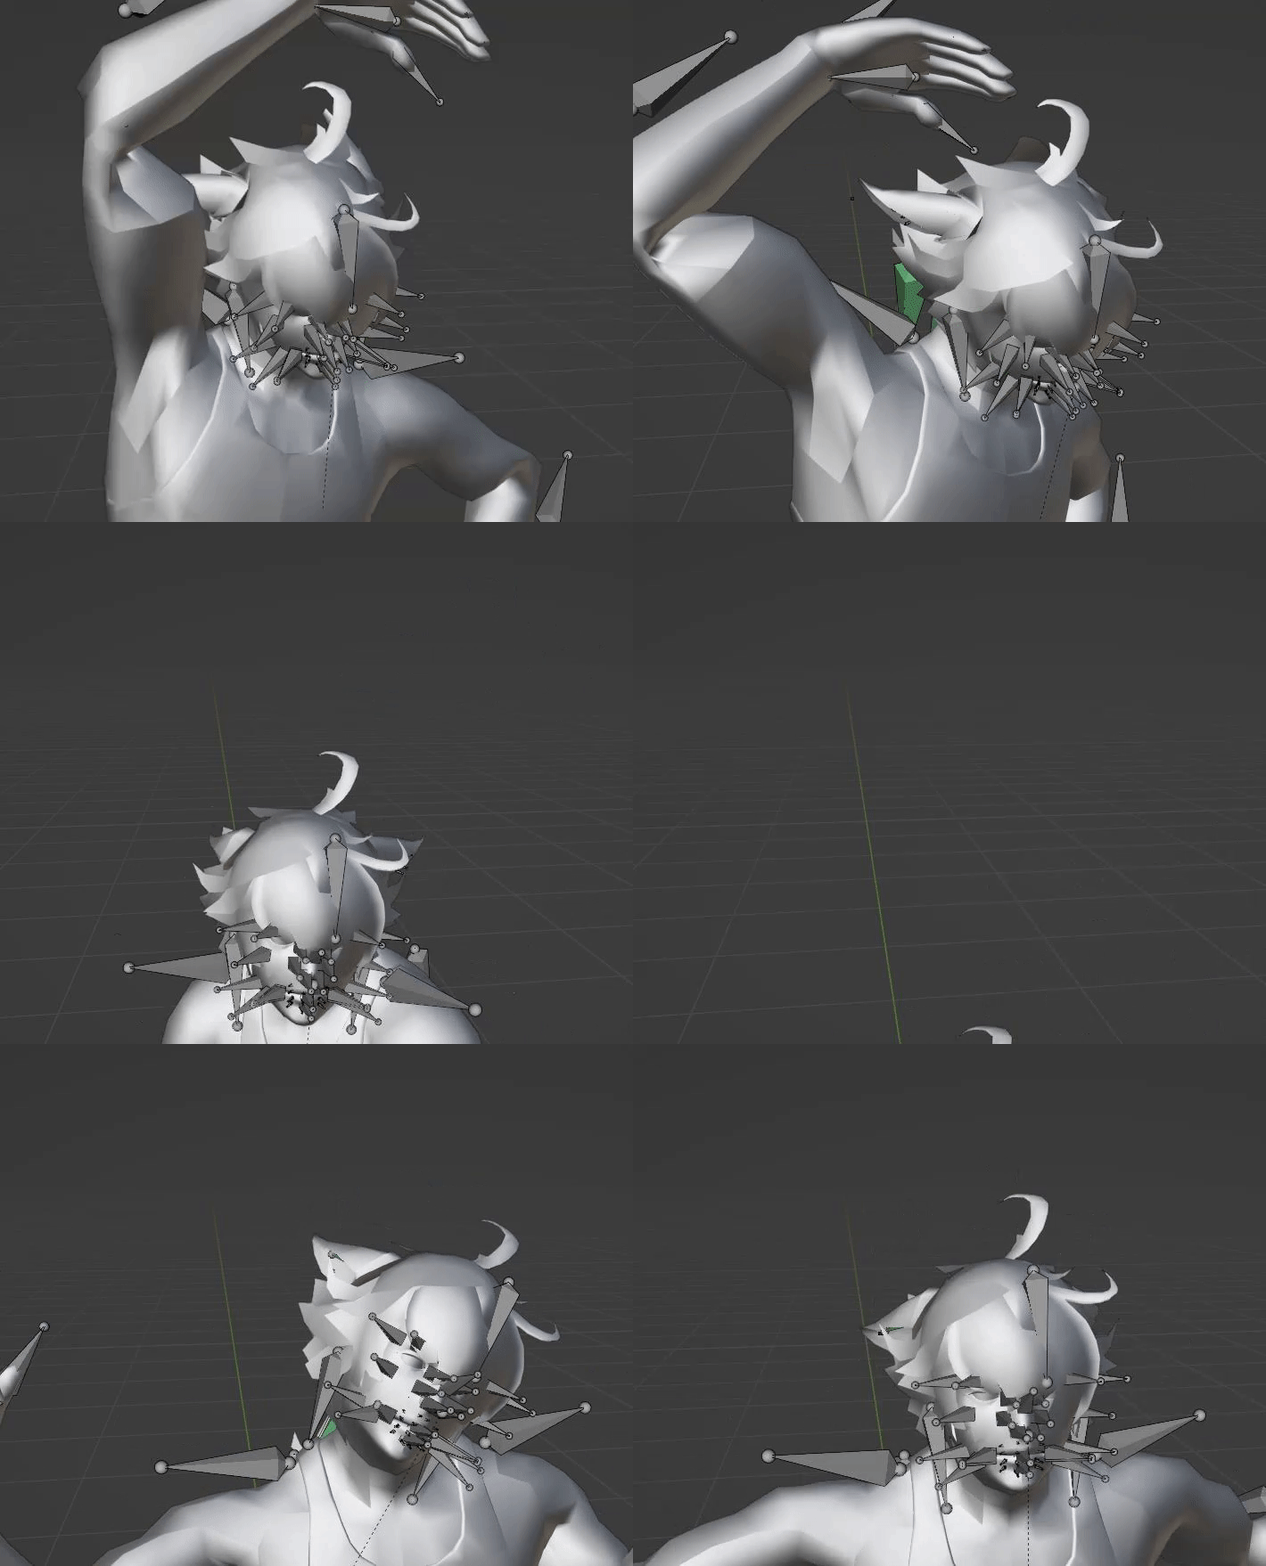
- Once all the physics have been applied, run through the motion a few times to see if its to your liking!
- Now to bake the physic motion into the animation itself. Select the first bone, then use shift + click and select all the green bones.
- Before you click on Bake Animation. PLEASE SAVE YOUR PROGRESS!
- Select Bake animation and click okay
- Baking can vary depending on animation length.
- Once baking is complete, preview the motion.
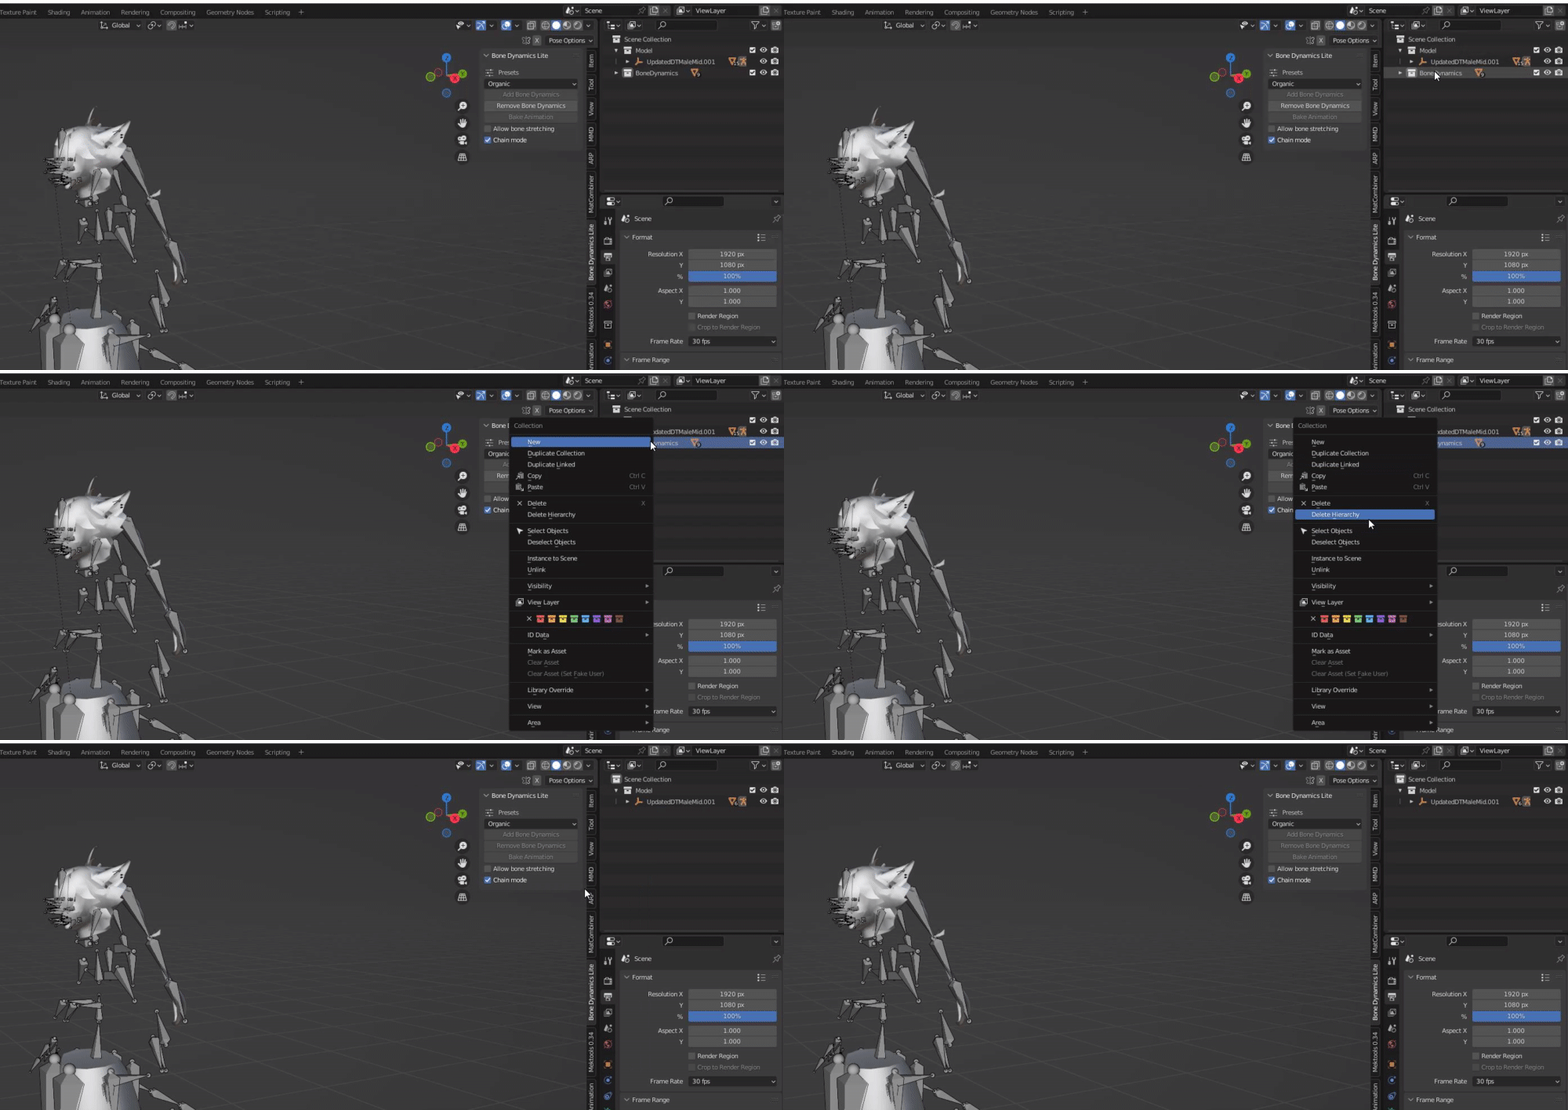
- Navigate to scene section and select the BoneDynamics Icon. Right click and delete hireachy.
- Once you verified everything works properly you can export the animation. Refer to the end of chapter
23 on how to export. - Now that you made a Ear physics version, you can quickly make a static ear version easily.
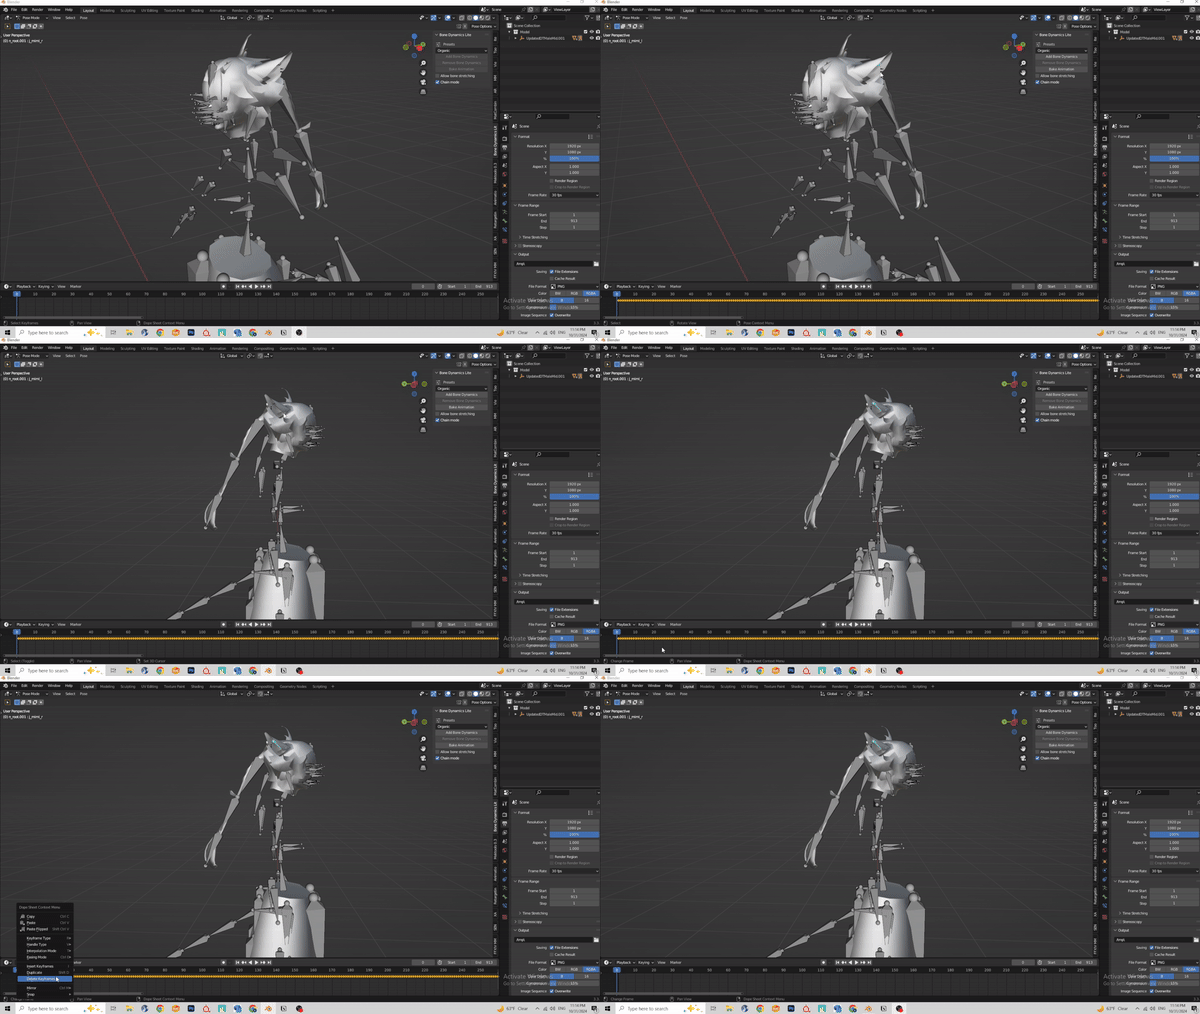
- Select the armature and go back into pose mode. Select the two ear bones (j_mimi_l and _r , shift + select the other ear bone)
- Upon selecting those two, the animation track will show the frames. In the animation track section, you can press DEL or X > Delete keyframes to delete all the ear physics animation.
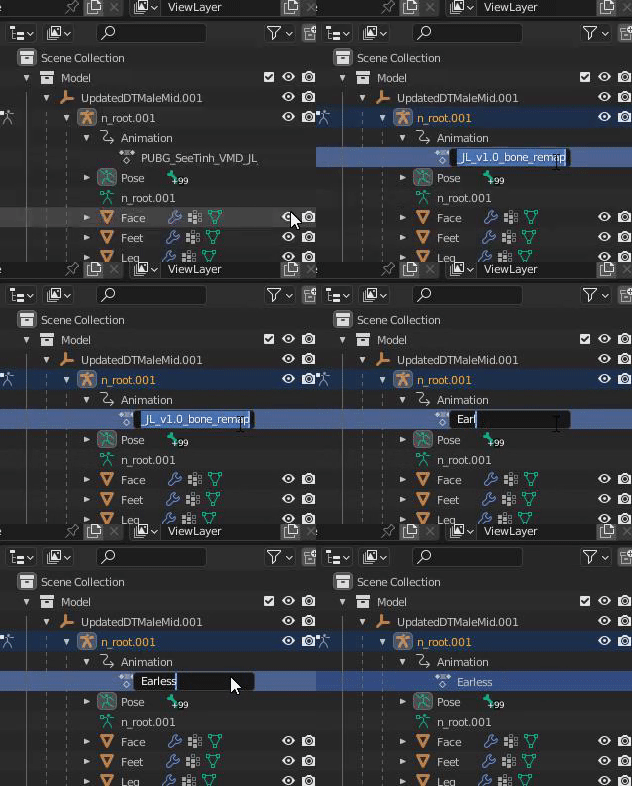
- Normally what helps me is renaming the animation track and export file to Earless(motion name here).
- And thats all for ear and tail physics!

