# Chapter 6 : Q&A, Physics , etc.
Now that we've ported over the base animation, what else can we add to our dance mod? Here is a list of things you can add to your mod to make it more enjoyable!
Music
Lip/Face movement
Camera
VFX (I personally won't be going over this/ not an expert on this)
Skirt/Tail/Ear/Hair Physics
# How to Determine MMD Scale
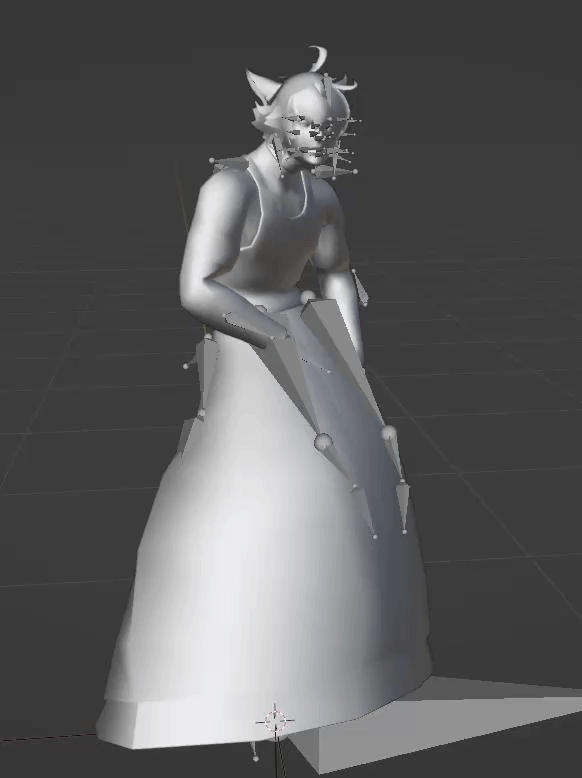
So say you're using a different MMD model and you don't know what scale to import it as.
Import your FFXIV FBX model into the scene[](https://xivmodding.com/uploads/images/gallery/2024-08/rqWxMxeTNVsLu5az-importfbx.gif)
To make it easier on the eyes, I recommend importing the Primary Bone Axis to X axis and secondary bone axis to Y axis.
Alternatively, you can also append the FFXIV model from the blend file in the animation kit!
[](https://xivmodding.com/uploads/images/gallery/2024-08/EUWe5GWjWkw4xIXz-append.gif)
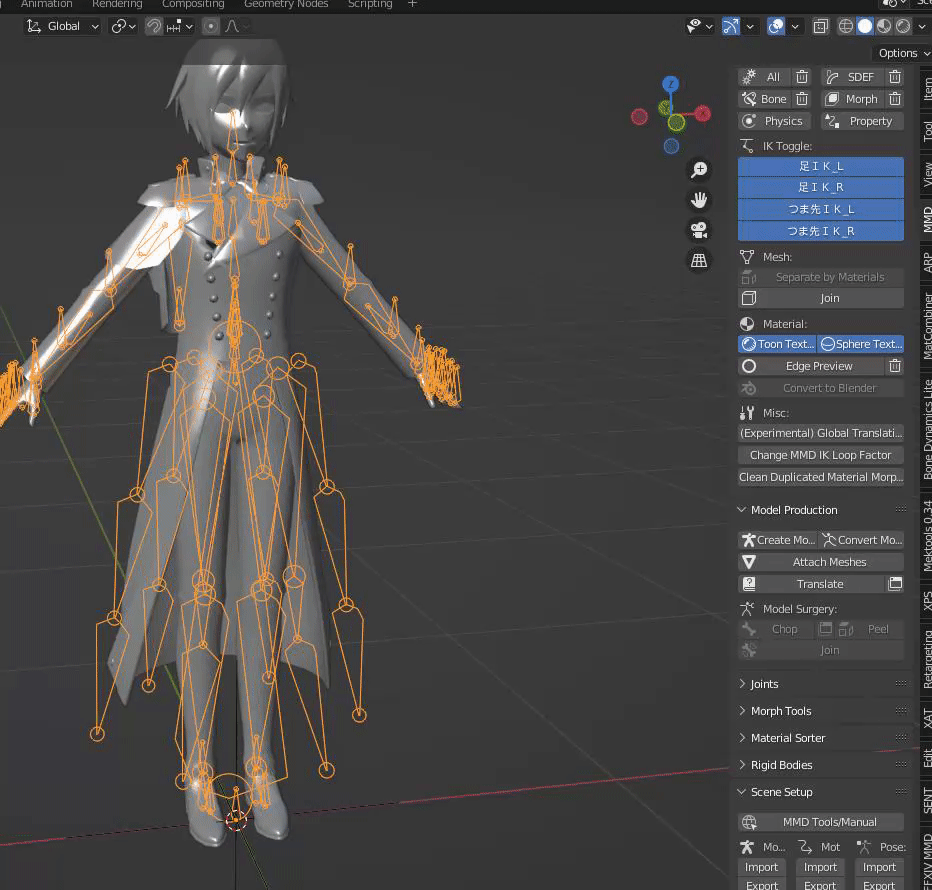
1. Once that is done, locate the MMD tools section and find the scene set up.
2. Under model section, click on import and find your desired MMD model
3. Change the scale to 1 before selecting import.
- [](https://xivmodding.com/uploads/images/gallery/2024-08/7b1nY0IEJQk5Vclb-findscale1.gif)
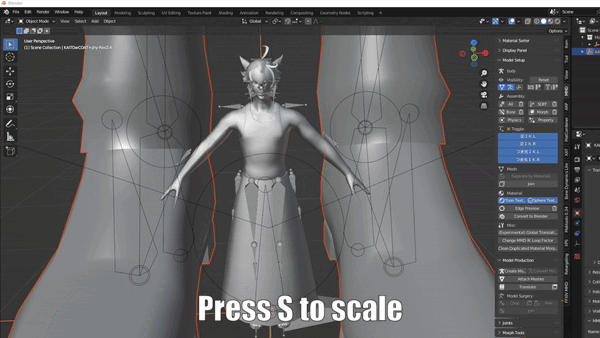
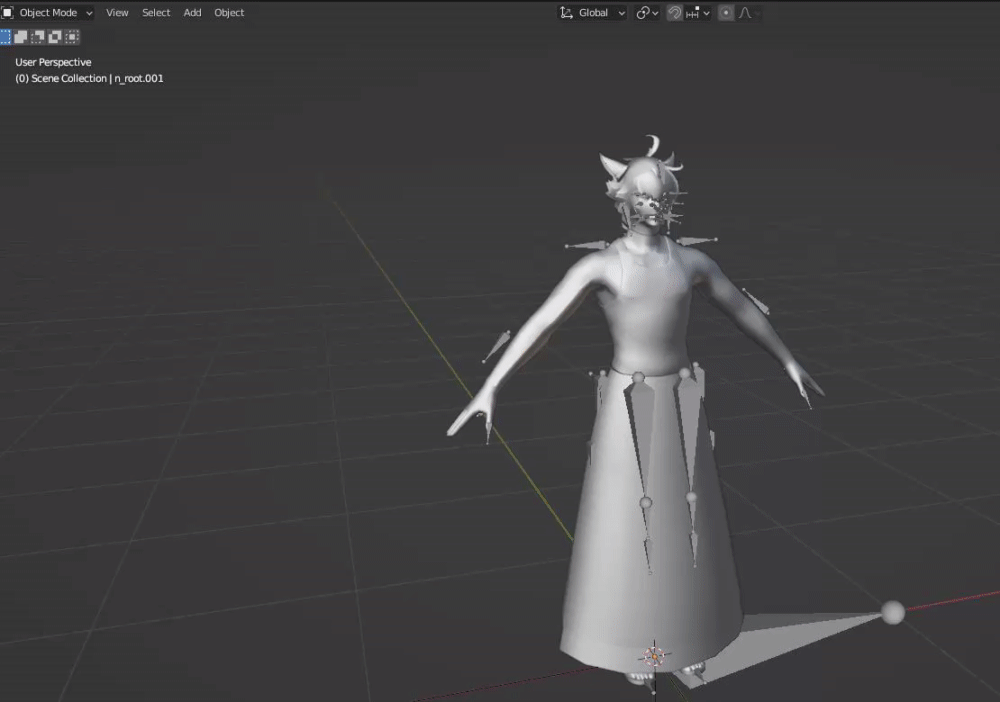
4. Now without clicking off of the newly imported MMD model, click S on your keyboard (or w/e key bind you have set for your Blender)
5. Scale the model down till it roughly fits the FFXIV model's head and/or arms.
6. Navigate to the Items tab and take note of the scale value. That is scale at which you want to import your MMD model and motion at.
- Remove the MMD model out of the scene
- [](https://xivmodding.com/uploads/images/gallery/2024-08/WIv9wHvcd9gJ1oR6-advice2.gif)
7. Reimport your MMD model at the desired scale
- [](https://xivmodding.com/uploads/images/gallery/2024-08/XdNMwNkNXRA7Nsgk-findscale2.gif)
# Ear/Tail Physics
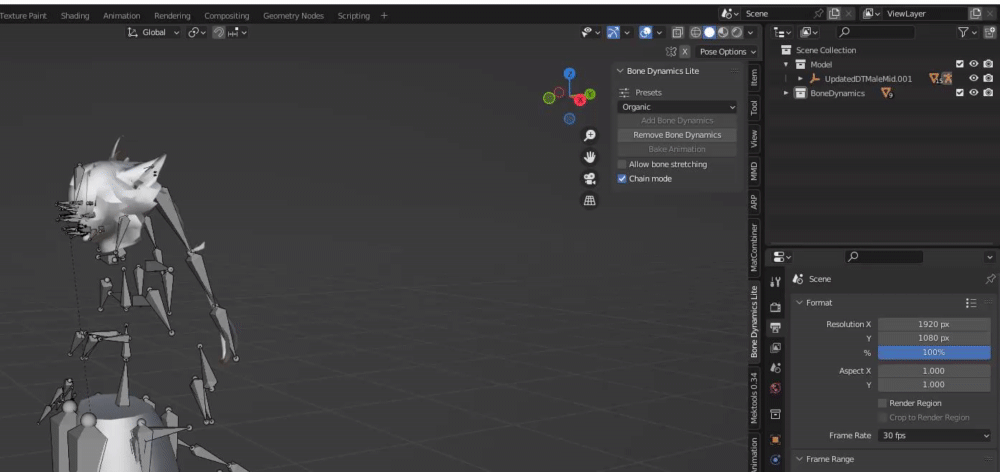
Ear and tails are the easiest to implement! To demonstrate , I will be using Bone Dynamics Pro. You can use the free lite version (honestly what I use).
With working with ear physics , you will essential double your work flow. If you want to include ear physics option and a static ear option (for non elezen, mitoqe and lalafel), youll have to create a version for static ear too.
**As with anything involving Blender, please make sure you are saving frequently!!**
1. Select your armature and go into pose mode.
- Default short cut key to pose mode is Ctrl + Tab (for windows atleast)
- [](https://xivmodding.com/uploads/images/gallery/2024-11/niGnOKYyQsDA6woC-step1.gif)
2. Rotate camera behind and disable the UpperBody and Tail Mesh so we can see the bones more clearly.
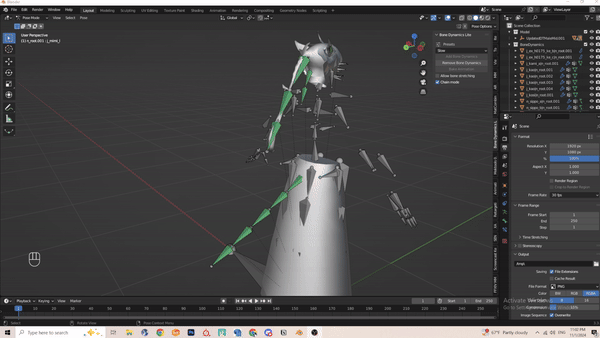
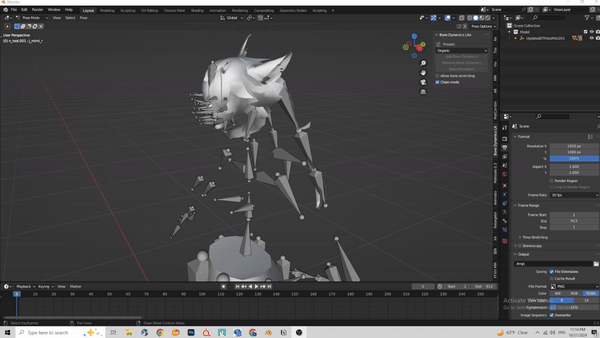
3. Navigate to the Bone Dynamic Lite Tab and enable “Chain Mode”
- [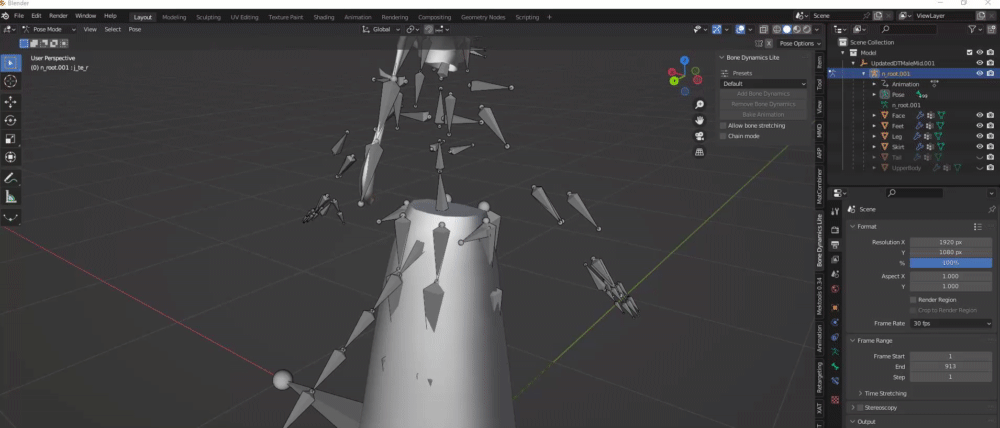](https://xivmodding.com/uploads/images/gallery/2024-11/D9TR4FaKCldxRfFK-step2.gif)
4. For Tail and hair, I usually use the organic preset. Very smooth and feels natural to me. Feel free to test other presets!
- If you are using BD Pro, you are able to make your own preset and adjust parameters to your liking.
5. We’ll have to select the bones from the beginning to end. In this example we’re starting with n\_sippo\_a.
6. With the bone selected, click on the add bone dynamics option. This will change the bone to a green color
- [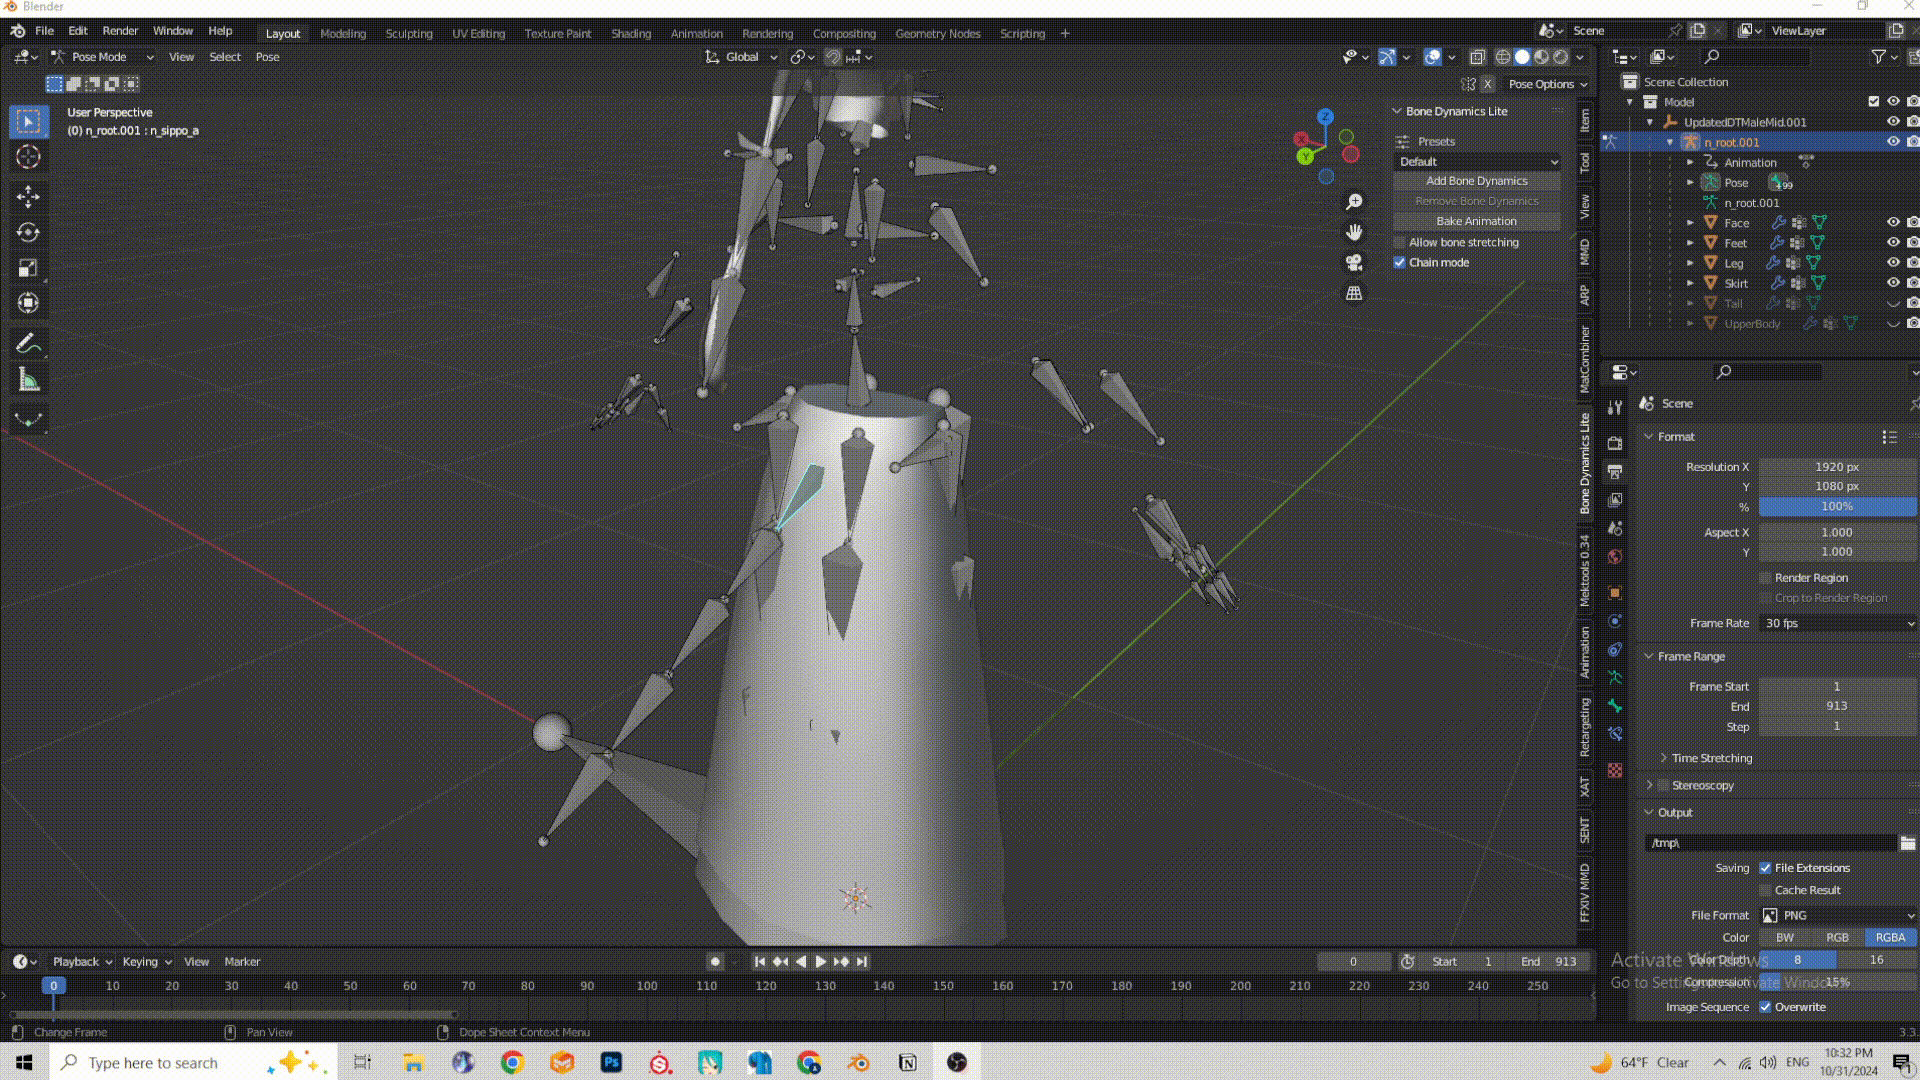](https://xivmodding.com/uploads/images/gallery/2024-11/BBn8JLx4tWExdEQD-step3.gif)
7. Repeat previous step until you have reached the end of the tail
8. The process is the same for the hair. Hair bones are:
- j\_kami
- j\_ex (this is if your hairstyle has a pony tail)
- [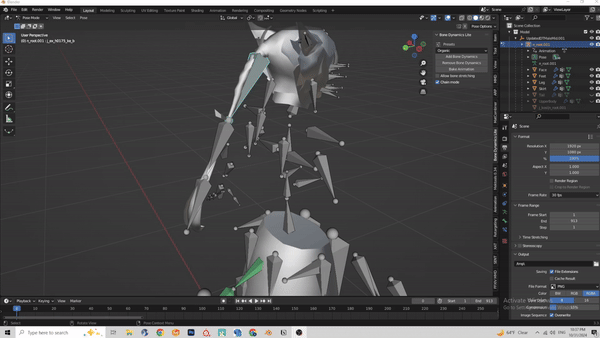](https://xivmodding.com/uploads/images/gallery/2024-11/0FX3vr9vJ5TLThdE-step4b.gif)
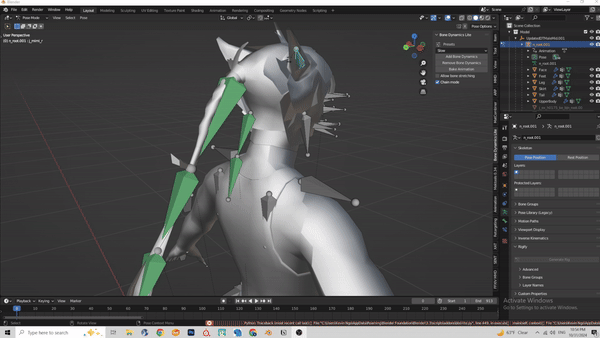
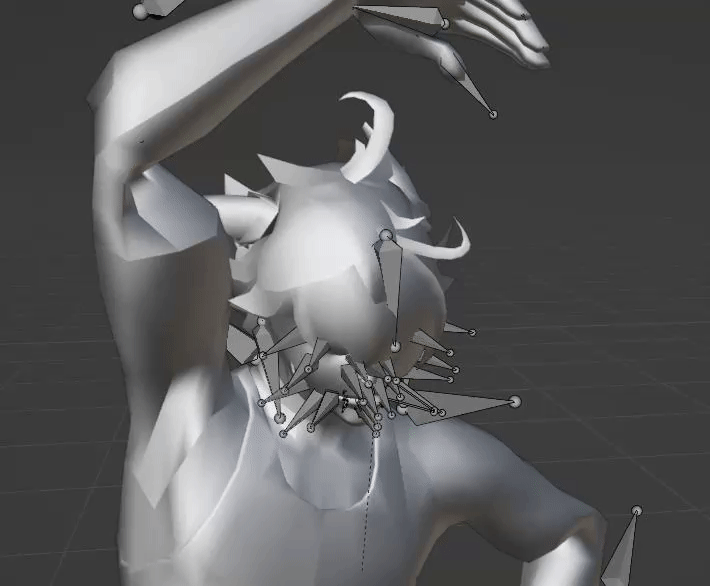
9. Here is a little preview of the physics. Not too bad!
- [](https://xivmodding.com/uploads/images/gallery/2024-11/pxQThPUaxpo36zSE-step5.gif)
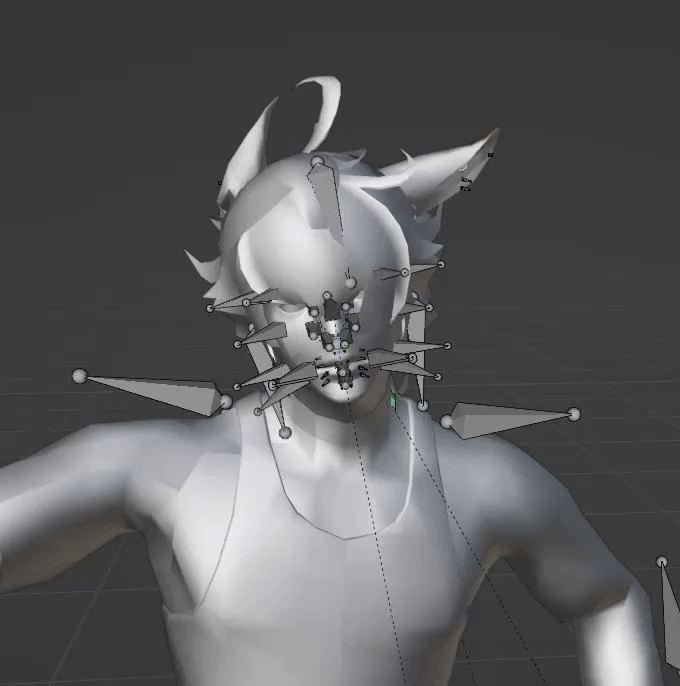
10. Now for ear physics. This is where things get a bit weird. Lalafels, Elezen and mitoqes use the j\_mimi bones, viera use a completely different ear bone (j\_zerc). So (in theory atleast) ear physics using the j\_mimi bones will not be comptabile with viera ear bones.
11. Ear bones can be a little hard to see sometimes
- [](https://xivmodding.com/uploads/images/gallery/2024-11/nxFqnzrXsXw6QVHC-step6.gif)
12. For ear physics, I use the Slow option. Organic makes it too flowy for my taste.
- Organic:
- [](https://xivmodding.com/uploads/images/gallery/2024-11/uygNEofQPFHlgoID-organicphysics.gif)
- Slow:
- [](https://xivmodding.com/uploads/images/gallery/2024-11/FZndrhsZyurXz3h0-slowphysics.gif)
13. Once all the physics have been applied, run through the motion a few times to see if its to your liking!
14. Now to bake the physic motion into the animation itself. Select the first bone, then use shift + click and select all the green bones.
- [](https://xivmodding.com/uploads/images/gallery/2024-11/rz3gV0FVmn0hPcr6-step7.gif)
15. **Before you click on Bake Animation. PLEASE SAVE YOUR PROGRESS!**
16. Select Bake animation and click okay
- Baking can vary depending on animation length.
17. Once baking is complete, preview the motion.
18. Navigate to scene section and select the BoneDynamics Icon. Right click and delete hireachy.
- [](https://xivmodding.com/uploads/images/gallery/2024-11/wmZTuJIoVxKuSsLI-step8.gif)
19. Once you verified everything works properly you can export the animation. Refer to the end of chapter 3 on how to export.
20. Now that you made a Ear physics version, you can quickly make a static ear version easily.
21. Select the armature and go back into pose mode. Select the two ear bones (j\_mimi\_l and \_r , shift + select the other ear bone)
22. Upon selecting those two, the animation track will show the frames. In the animation track section, you can press DEL or X > Delete keyframes to delete all the ear physics animation.
- [](https://xivmodding.com/uploads/images/gallery/2024-11/kiS7QoEuKnfSB4tb-step9.gif)
23. Normally what helps me is renaming the animation track and export file to Earless(motion name here).
- [](https://xivmodding.com/uploads/images/gallery/2024-11/SWvkD0cGfDisHctv-step10.gif)
24. And thats all for ear and tail physics!
# Skirt Physics
If you have made it this far…. welcome to the pits of skirt physics hell (mostly joking). FFXIV skirt physics is a bit of a pain to deal with. To achieve flowy skirt physics like you see in MMD videos, you ideally need a lot of skirt bones to work with.
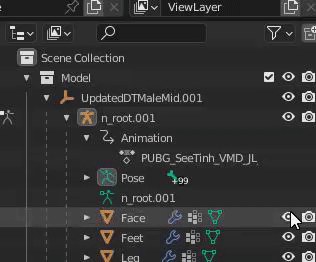
MMD Skirt Bones:
[](https://xivmodding.com/uploads/images/gallery/2024-11/mIZAAMZRhDM0wdON-mmdskirt.PNG)
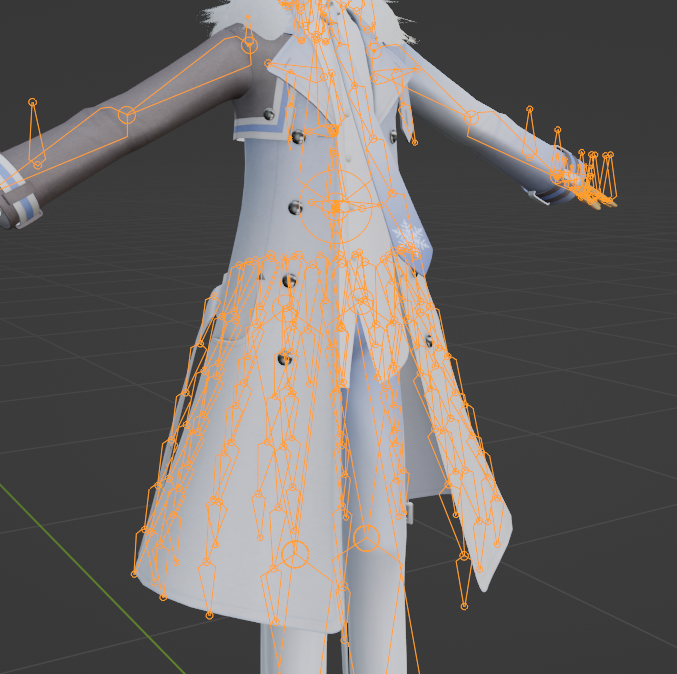
FFXIV Skirt Bones:
[](https://xivmodding.com/uploads/images/gallery/2024-11/fjGtKD4lGiswIV55-ffxivskirt.PNG)
**Big credits to RexZ for adjusting the kaito MMD model to match ffxiv’s skirt bones! Major life saver ngl.**
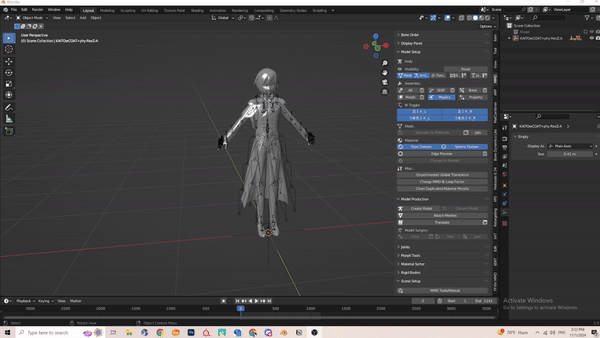
1. Load in your MMD model as shown in Chapter 1.
2. Before you start, navigate to the Scene Set up section. In the Rigid Body section, click on the Update World button.
- [](https://xivmodding.com/uploads/images/gallery/2024-11/3xGgUg88T2f2wAu8-step1.gif)
3. Select the MMD model’s armature and import your motion. Remember at the same scale you imported the model at.
To enable physics, have the MMD model’s armature selected and find the Model set up section. In the assembly, click on the physics button.
- [](https://xivmodding.com/uploads/images/gallery/2024-11/vO8zTbTdRHKB393A-step2.gif)
4. Now depending on the motion you are working with, default paramters should be fine.
- Example here is See Tinh. Motion isnt too drastic, so it should be good for retargeting
- [](https://xivmodding.com/uploads/images/gallery/2024-11/tCdDjgyNTNrRZ3ej-seethinhexample.gif)
- Now for motions that have really drastic movement, those will require changes in the parameters.
- 2 examples: Erase or Zero and Geddan
- [](https://xivmodding.com/uploads/images/gallery/2024-11/C73VZp6YoOU82v79-eraseexample.gif)
- [](https://xivmodding.com/uploads/images/gallery/2024-11/pZe6l005UoowLAj6-geddanexample.gif)
- I don’t exactly know what the parameters do, but I usually mess around with substeps. A Higher substep (from what i’ve observed at least) means a more solid, thicker physics. Change either parameters to get it to work with your motion.
- [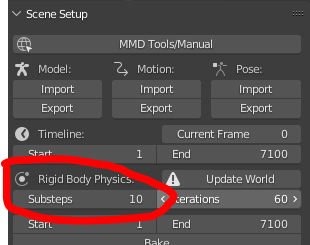](https://xivmodding.com/uploads/images/gallery/2024-11/nuEUoQIFmRusxFfV-physicchange.PNG)
- I usually re-enable physics after changing the substep. If physics doesn't work, I usually have to resort to disabling and re-enabling physics.
- Here is what adjusted looks like. See? Its much better
- [](https://xivmodding.com/uploads/images/gallery/2024-11/M5nWgoA67qR3Fp6E-correcterase.gif)
5. Once you are satisfied with your desired skirt motion, its time to bake it!
6. Select the MMD armature and click on the Bake option in the Rigid Body section. This can very depending how long your animation is.
- [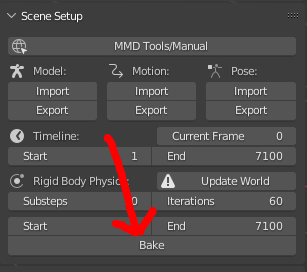](https://xivmodding.com/uploads/images/gallery/2024-11/P80uWeUKeuvcU4KD-bake.PNG)
7. If you are dis-satisfied with your bake for w/e reason, the bake button changes into “delete bake”.
8. Once all that is done, you can proceed to the retargeting process.
- If using ARP, the config file provided has the skirt bones already mapped
- [](https://xivmodding.com/uploads/images/gallery/2024-11/Xoyh64H4q30rDk05-completeretarget.gif)